Checking tightness without contact
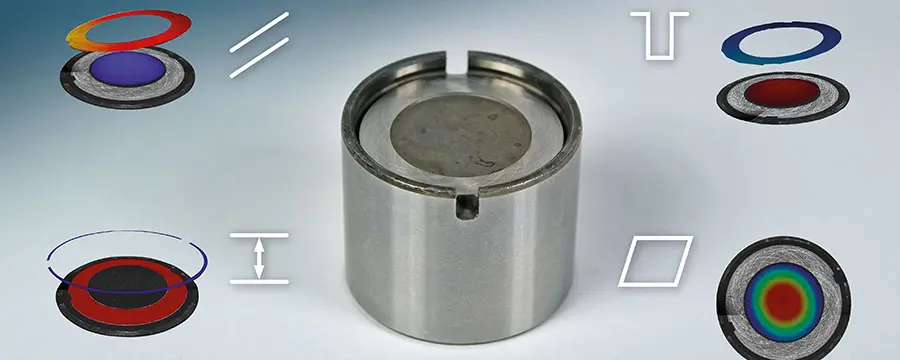
The quality of sealing surfaces has a decisive influence on connections not being ‘leaky’ in the long run. If this is to be achieved, the surface’s geometric properties must be defined as precisely as possible so that the intended function – in other words, “leak-tightness” – is fulfilled. Leaks can occur particularly if the contact surfaces’ form deviation is outside defined tolerances.
This risk can be prevented by using Polytec’s surface measurement systems. Using these products allows you to characterize tightness not only in the lab, but also during production. Thanks to the contactless measuring method, both the form and consistency of the sealing surfaces to be inspected are maintained and the measurement results can be repeated at any time. The Polytec systems are easy to use and make for a fast analysis process.
Where surface inspections need to comply with cycle times
Polytec surface measurement systems are “in their element” in all production operations where tight cycle times have to be complied with. This situation is a particularly frequent one in the automotive industry – for example where injection systems, Piezo common rail systems and compressors are used, and for motor development in general.
Fitting optical profilers for sealing surfaces
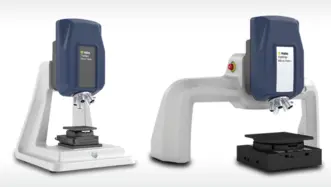
Micro Profiler
Micro.View profiler systems are optimized for measurements with sub-nanometer resolution. With focused optics and high vertical resolution they enable detailed analysis of microstructures, surface finish and material distribution where even the smallest deviations matter.
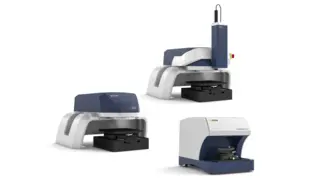
Macro Profiler
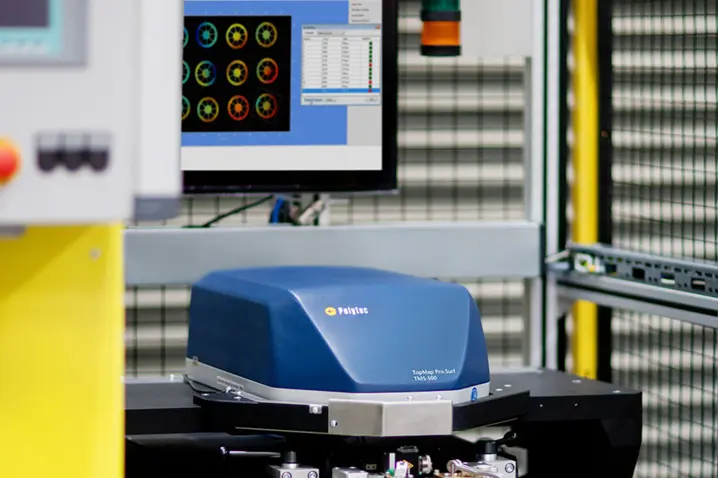
Pro.Surf with its areal topography scanning determines form and flatness faster. Its telecentric optics with large Z range reaches holes and recessed surfaces. The largest FoV and True Stitching handles big samples and multi-sample measurements with ease. Upgrade to Pro.Surf+ and also analyze roughness all-in-one.
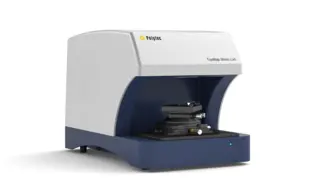
Metro.Lab
Metro.Lab is a compact, wide-area surface profiler. It combines high measurement performance with a small footprint—ideal for space or budget conscious applications that still require reliable 3D surface data.
Choose the right surface profiler with confidence—benefit from our "try before buy" approach.

Relevant surface measurement tasks
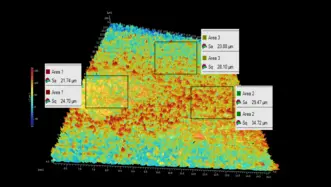
Surface roughness measurement
Surface texture analysis in 3D. From Sa/Sq to Str/Sal for validating specifications and surface features.
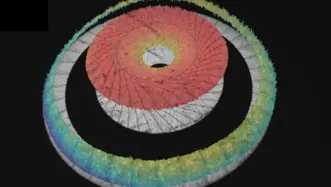
Maintain form and position tolerances
Verify form and position tolerances such as waviness, flatness, parallelism and tilt. Optical 3D surface metrology delivers reliable results—even in bores.
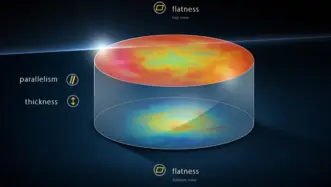
Flatness, thickness and parallelism
Flatness, thickness and parallelism (FTP) measurement combines top & bottom topography measurement in a single shot.
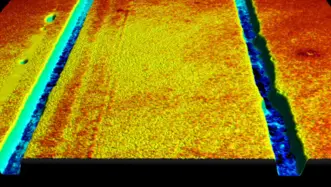
Coatings and layer thickness
Coating quality control in 3D. Assessing pre-coat texture, post-coat defects, and film thickness.
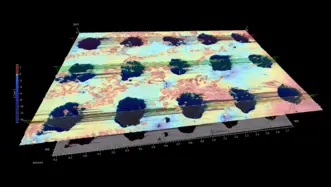
Tribology analysis
Tribology analysis with 3D surface profiler. Inspecting friction, wear and lubrication performance.
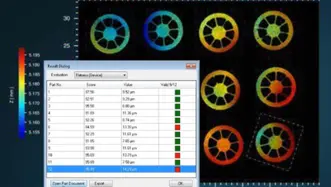
Pass/fail analysis
WLIs deliver fast, objective and easy-to-use pass/fail feedback from areal 3D data. Sub-nanometer Z resolution and recipe-driven workflows support inline SPC.
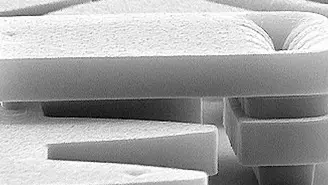
Surface metrology on microstructures
Topography & dynamics of microstructures and for nanotech. 3D geometry, roughness, and time-resolved motion.
Further metrology applications
Stories & Downloads
Downloads
Discuss your demands with our experts
Let’s start with a short discussion about your parts, tolerances, and workflow—and, if useful, we can add a feasibility study, PolyMeasure (contract measurements), or a PolyRent trial as optional next steps.

