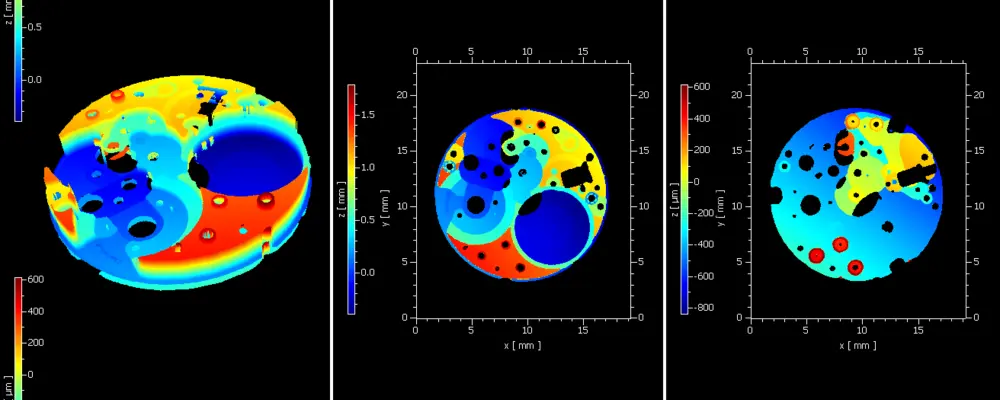
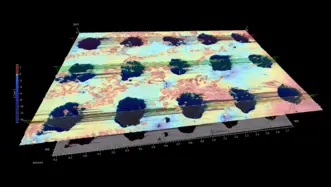
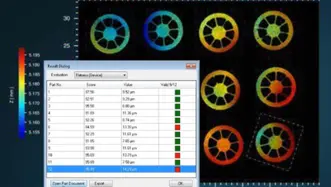
Functionality and quality of industrially manufactured components rely on well-controlled and well-monitored machining processes. Quality control, close to line, or inline quality inspection often uses surface metrology for evaluating form, roughness, and other surface parameters. Sometimes, the combined look on front and back sides of a workpiece is indispensable for a comprehensive quality analysis.
Now, Polytec enhances the perspective for valid measurement results, providing combined top and bottom surface topography in a single, but areal and direct measurement.
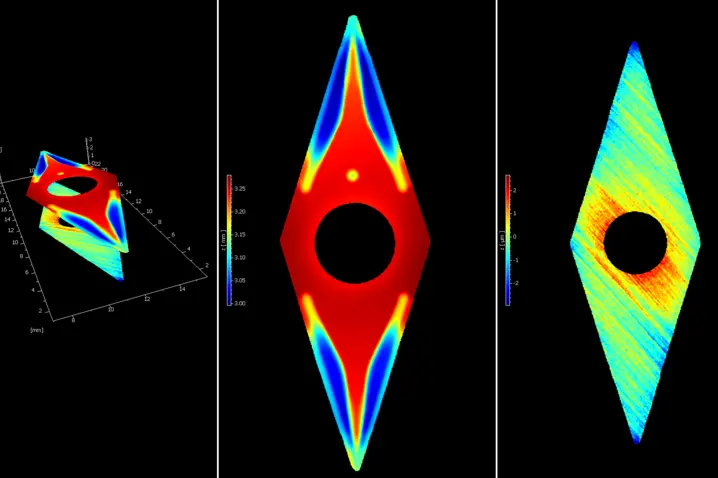
3D topography of back and front surface
Sometimes, the combined view on front and back sides of a workpiece is indispensable for a comprehensive quality analysis. This might require swapping or flipping the sample, or using an additional reference surface as indirect measurement, or applying two sensors each from one side. Each approach can lead to additional measurement uncertainty.
The new Polytec FTP Flatness, Thickness and Parallelism measuring module represents the fast and comprehensive measurement solution for evaluating flatness, thickness and parallelism at once. The FTP measuring module for back and front measurements is a significant gamechanger in quality control of precision mechanics such as in the watchmaking industry, for sealing surfaces, shim rings or optical components and more.
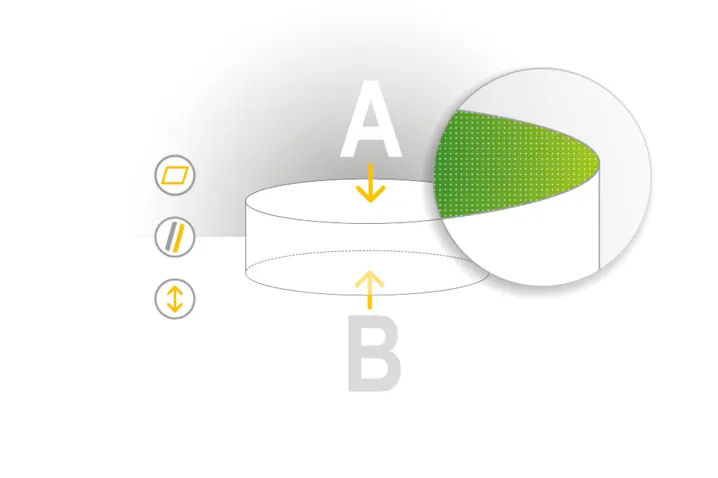
How it works: Combined flatness, thickness & parallelism in a single measurement
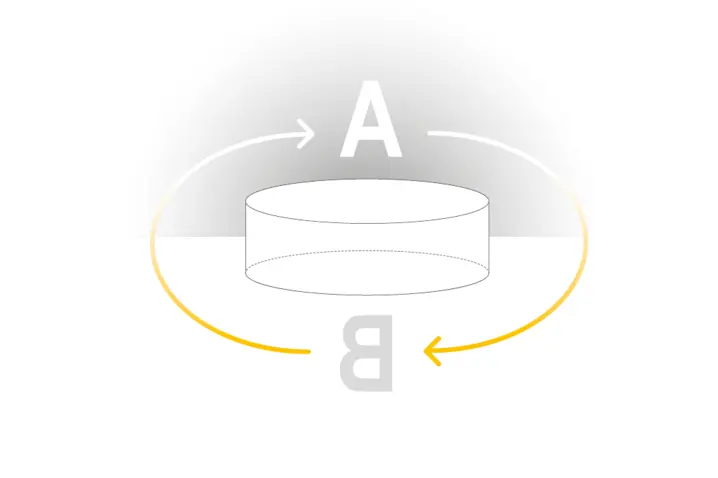
Avoid flipping or swapping the sample
In some cases, front and back sides can be measured by flipping the sample. This is mostly achieved by a rotational unit and requires a complex alignment procedure. The FTP concept of Polytec measures without the need of rotation or flipping, thus avoiding additional sample alignment for a faster and simpler operation.
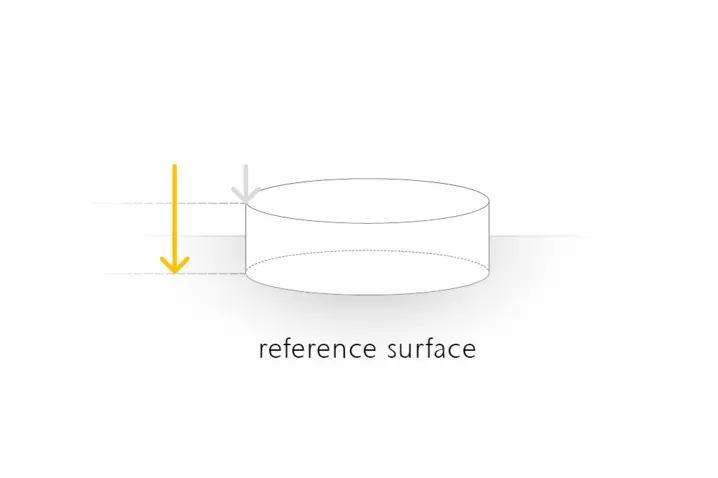
Direct measurement in one shot
Indirect measurements use a reference surface to characterize the backside of a sample due to lack of access to the original sample surface. These standard procedures often lead to time-consuming sequential measurements of a workpiece. Plus, the results base on the assumption of the reference surface being perfect.
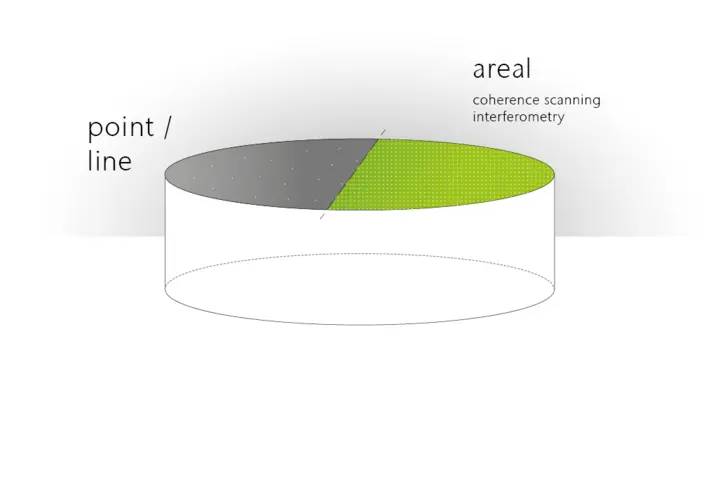
Data density depending on line vs areal profiling
Common single-point or line-profile based evaluations can only gather a limited measurement points of the true 3D (areal) surface. This results in time-consuming procedures along with the sacrifice of either higher point density or throughput. Here, the Polytec FTP combined measurement approach provides a non-contact, high data density or areal measurements from both top and bottom view in a single measurement.
Surface profiler with widest field of view (FoV)
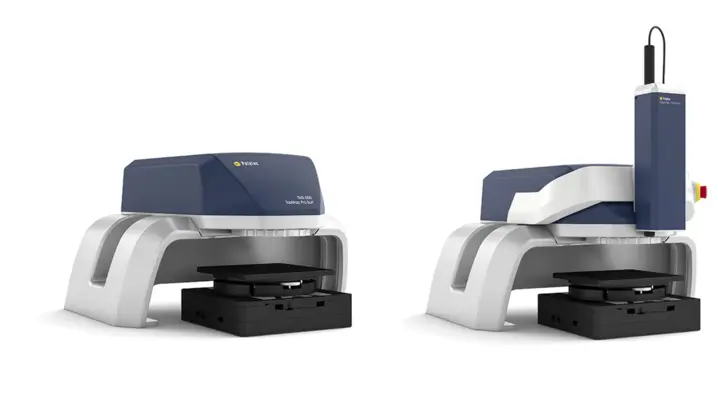
For FTP measurement, the Pro.Surf series is the most efficient 3D profilometer with an unmatched flexibility in regard to material, size and complexity of samples.
Convince yourself what Pro.Surf can do for you by having an online demo or directly rent a system.
Discuss your demands with our experts
Let’s start with a short discussion about your parts, tolerances, and workflow—and, if useful, we can add a feasibility study, PolyMeasure (contract measurements), or a PolyRent trial as optional next steps.

