Surface parameters

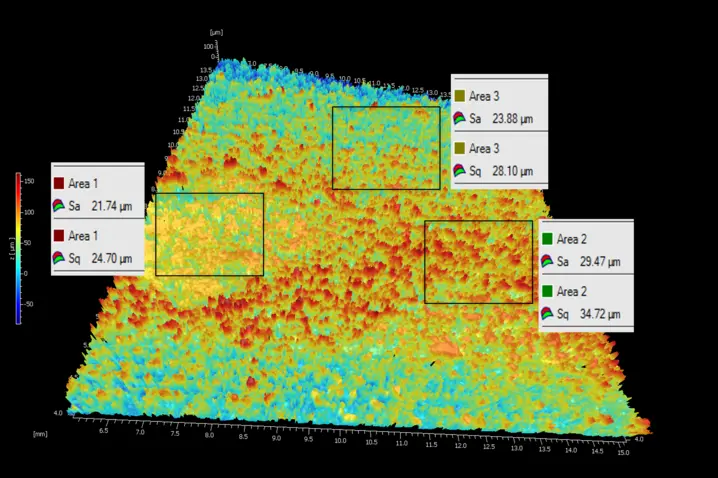
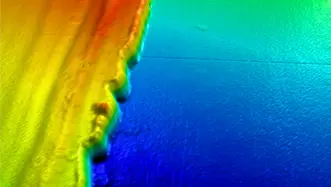
Very often, mechanical designs for workpieces include specifications for defined surface parameters such as surface roughness or ripple. Polytec TopMap surface metrology based on the white-light interferometry principle acquire entire non-contact 3D areal data in just seconds, where tactile methods would require much longer measuring times. Both 2D and 3D areal surface parameters (ISO 25178-2, ISO 4287, ISO 4288) – can be determined quickly and easily. 3D areal surface metrology can offer a visual representation of how a surface looks in detail and give a very precise numerical representation, indicating heights and sizes for example. Although these scales may be very small they often provide information that directly relates back to how the surface was generated, how to maintain engineering quality or the identification of manufacture defects and failures. Using this measurement feedback allows process control and keep quality and consistency of functional surfaces high.
Icon evaluation of surface form parameters

Form parameters

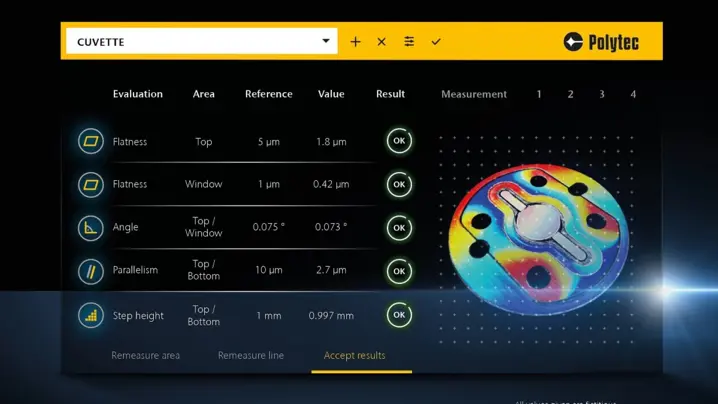
Whenever producing a workpiece, the tiniest details, the tightest manufacturing tolerances, especially in the area of technical, functional and precision surfaces, all can influence the performance of the surface. Here, manufacturers must precisely inspect and quantify the many different form tolerances, such as shape, size and texture as well as other positional tolerances such as parallelism and angles to ensure that all critical dimensions meet the required specifications. TopMap surface metrology is specifically developed to meet the most demanding tolerancing of precision-made components.

Icon evaluation of parallelism on surfaces

Flatness and parallelism

In the case of functional surfaces, it is often crucial to measure specific surface parameters such as flatness and parallelism of precision-made components like fuel injectors or sealing surfaces in pumps. Such surfaces are designed to perform under high pressure and need to be well made, consistently made and constantly checked for quality as integral step within the manufacturing process. Polytec's TopMap optical 3D measurement systems are specifically designed for automation and ease of use, providing precise measurement data as reliable feedback for the production process. TopMap allows for the accurate characterization of parallelism and flatness over a large field-of-view (FoV) directly at production level and in quality control laboratories, thus, enabling fast and comprehensive characterization of critical components.

Learn more

Icon steps and height in surface topography

Step-height

The 3D inspection of step height, angles and the interaction between surfaces often requires a large vertical measuring range. TopMap whitelight-interferometry offers a large vertical measuring range up to 70 mm and more depending on the models. This large vertical range allows measuring both small and large step heights, even on surfaces that are difficult to access, like deeply recessed surfaces. TopMap feature a telecentric optical design, avoiding shadowing effects while offering the reliably measurement of critical nano, micro or macro step heights. Automatic software such as pattern recognition help optimize data processing and help eliminate the need for complex mechanical fixturing of workpieces. This enhanced automation significantly increases speed, throughput, and data quality.

Learn more

Icon surface roughness evaluation

Roughness

In quality control, research, product development and production, the exact and stable measurement of surface roughness is often decisive for maintaining quality. The traditional profile parameters tend to be 2D. Referred to as “R” parameters these roughness parameters are well established and well understood. Here, the 3D areal “S” parameters work as a supplement since functional surface interactions require areal analysis. Surface topography is 3D in nature. A single line profile cannot identify pits or valleys, peaks or ridges. Any measurement and analysis of profiles or sections, even if properly controlled, will only give an incomplete description of the real surface topography. The information provided by areal surface topography is far more comprehensive. TopMap 3D surface metrology from Polytec provides both 2D and 3D areal surface parameters according to ISO 25178-2, ISO 4287, ISO 4288.

Learn more

Icon 3D surface analysis of microstructures

Microstructures

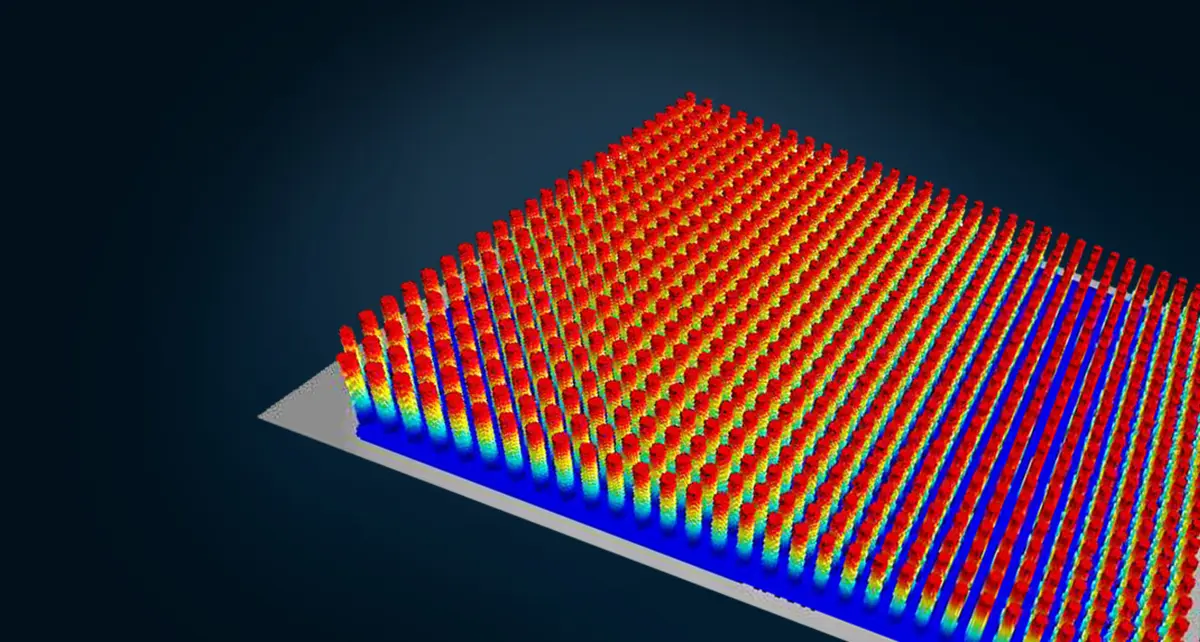
Microstructures are very small structures, very often difficult to see with the human eye. The functionality of these surface types can be influenced by small physical changes of defects at micrometer and nanometer levels. Therefore, high-resolution surface inspection is an important aspect of surface characterization in the field of microsystems technology. TopMaps range of microscope-based surface profilers offer a fast, non-invasive inspection of surface details with excellent repeatability. TopMap optical 3D surface metrology is your best choice for reliable, stable characterization of micro and nano devices, micro-structured and complex surfaces and microsystems.

Learn more

Icon layer thickness evaluation

Layer thickness

Wherever coating thickness is to be determined, whether in the laboratory, at production level or even in production lines, Polytec can offer layer thickness and or multi-layer thickness measurement solutions. All, in a non-contact and non-destructive way. The areas of application for layer thickness inspection are diverse and range from film thickness, to coating inspection or analysis of wear on coated surfaces like, automotive, aerospace or medical components with functional surfaces. The TopMap non-contact optical measurement systems are also used in numerous industries, to help enhance production and aid product research and development.

Learn more

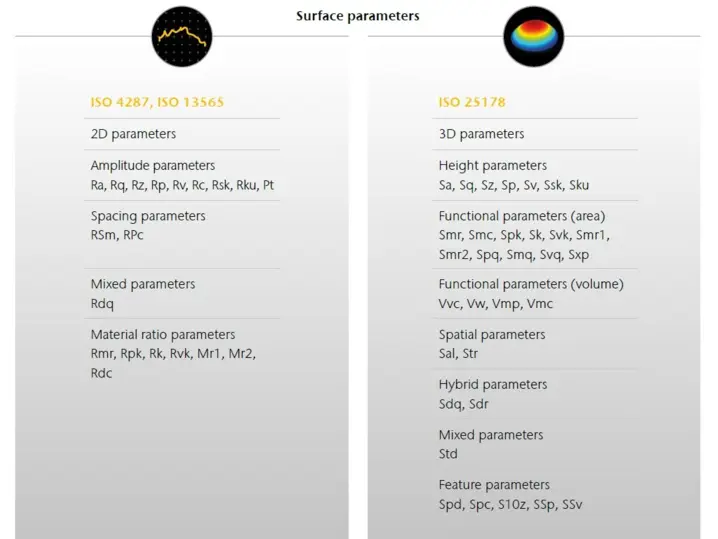
Table of surface parameter ISO standards

The mathematical description of numerous surface parameters can be found in various international standards. In practical application, ISO 4287 and ISO 13565 for 2D parameters and ISO 25178 for areal surface roughness are of particular importance. These standards define and describe the commonly used texture parameters. For the large number of parameters from profile standards, an equivalent areal parameter can be found in the published standard. Beyond that, areal topography evaluation offers additional benefit due to third dimension.

The amplitude or height surface parameters frequently used in practice were mostly extended to the areal evaluation. The areal evaluation of the topography shows the advantage of the measuring position being less sensitive than in profile-based evaluations, thus providing more reliable measurement results, especially for inhomogeneous and defective surfaces. However, the surface parameter family as a whole has in common that they cannot represent the functional differences between different types of surfaces. This means that differently manufactured and designed surfaces might still show the same results with respect to the surface parameters.
Contact your PolyXpert