Measure form and roughness in one production-ready workflow
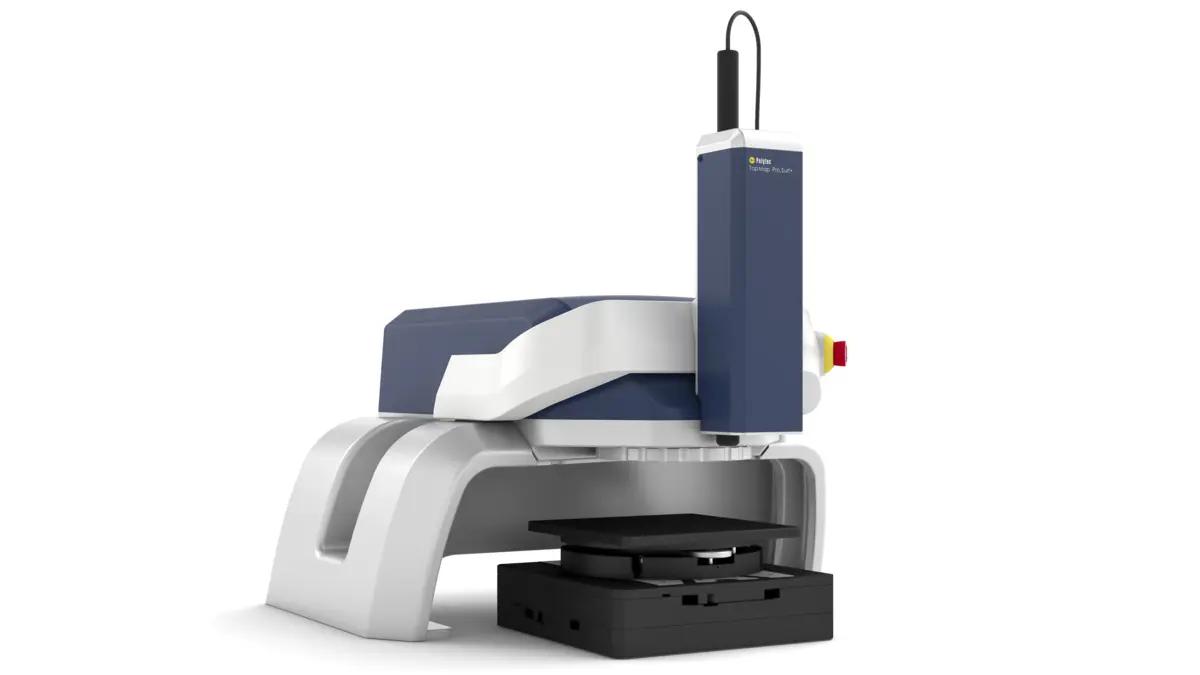
Pro.Surf+ is a multi-sensor optical profiler that combines large-area areal topography with nm-resolved roughness measurement in a single system. It enables fast, non-contact inspection of form parameters such as flatness, step height, and parallelism across wide fields of view.
By integrating telecentric white-light interferometry with a chromatic-confocal roughness sensor, Pro.Surf+ eliminates the need for separate measurement stations. This reduces handling effort, shortens cycle times, and delivers traceable results — ideal for quality control and output-driven manufacturing.
Multi-sensor surface profiler for fast form and combined roughness measurement
Scan large surfaces faster
Gather 2 million 3D surface data points within just seconds with whe large single Field of view with 44 × 33 mm. Extend the area with True Stitching up to ~230 × 220 mm and handle larger probes with ease.
Pro.Surf+ evaluates surface form parameters ilke flatness, parallelism faster, handles 70 mm large steps and big samples, and speeds up (multi-sample) measurements like precision mechanics, sealing surfaces and complex shaped samples.
Go deeper or higher?
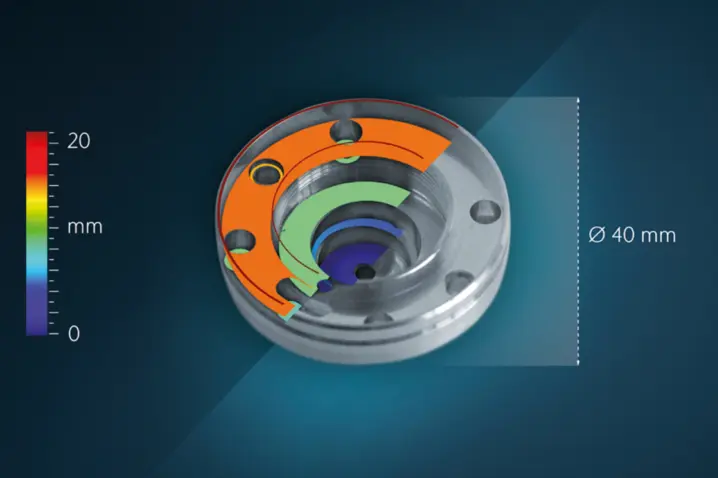
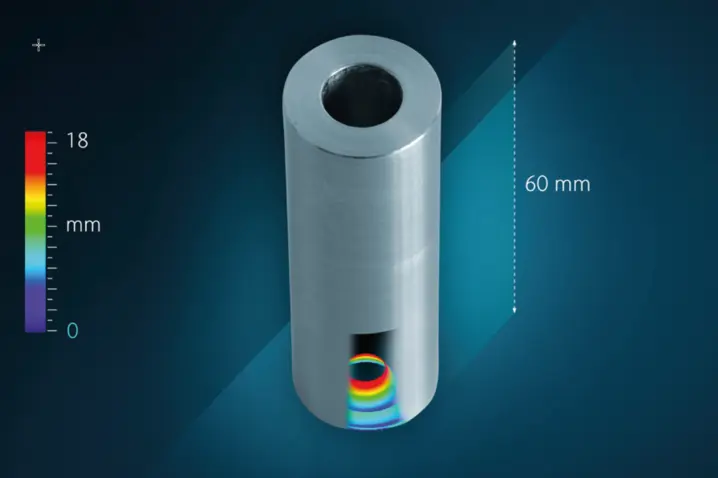
Featuring telecentric optical design and the 70 mm large vertical range, Pro.Surf+ examines deep and recessed areas such as holes or large steps without risk of collision.
The comfortable Z range and XYZ volume (up to 230 x 220 x 70 mm) enables inspecting bigger components and deep lying areals without the drawback of shadowing effects.
Accuracy you need with a reproducibility you can trust
A 70 mm vertical measuring range handles large steps and form deviations, while nm-resolved performance secures maintaining very tight tolerances: with <1.45 nm vertical resolution (phase evaluation) and <0.5 nm measurement noise on smooth surfaces.
The rugged industrial design comes with very low measurement noise, achieving a reproducibility of 5 nm - positioning the Pro.Surf+ as production-suited profiler.
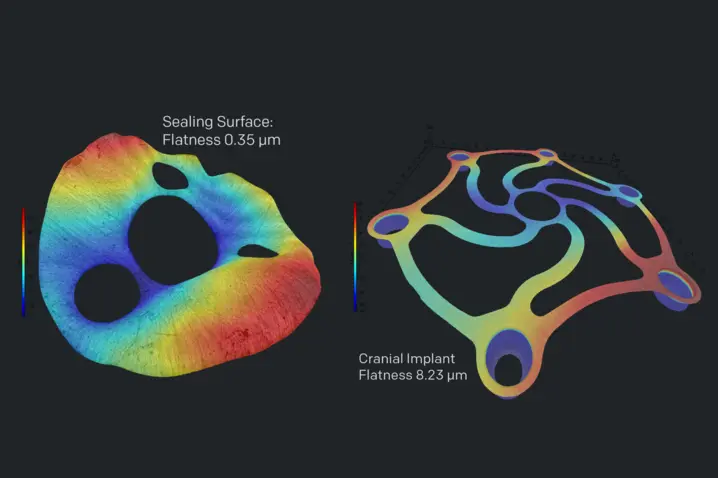
With Pro.Surf + you can measure form + roughness in one system
Pro.Surf+ integrates a chromatic-confocal roughness sensor. Evaluate form (flatness, step height, parallelism) on a large area, and additionally examine roughness at a 400 µm range with 2.6 µm lateral resolution and 10.8 mm working distance. Ideal for sealing surfaces, injectors, machine parts and ultra-precision machined surfaces.
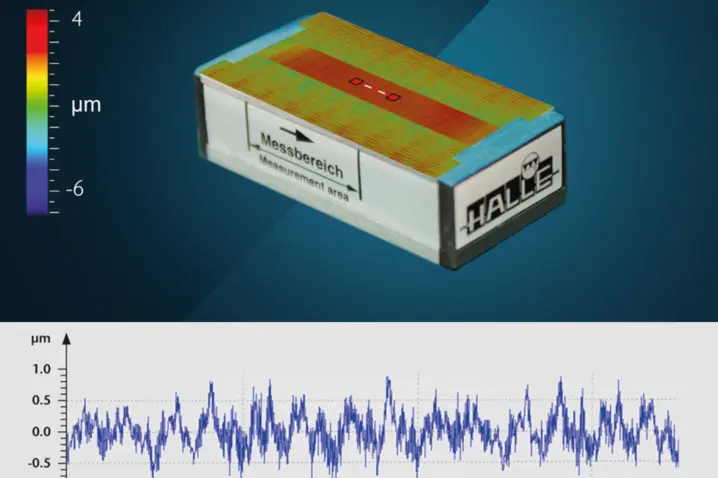
Production-ready throughput and traceability
TopMap surface profilers feature predefined recipes for routine measurements on the shop floor - one-click solutions without need for training. Barcode scanners load part-specific measurement, lighting and evaluation settings. The software automatically recognizes sample patterns without need for mechanical fixation.
Generate DIN/ ISO compliant and reproducible evaluations (e.g. ISO 21920). Clear visual control and numerical results support your pass/fail decisions, and quick reports like QS-STAT™ exports for SPC increase transparency and productivity at manufacuturing level.
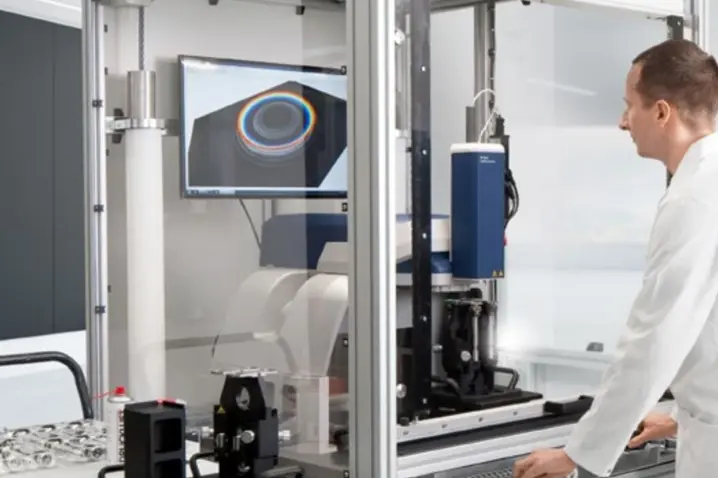
Choose the right surface profiler with confidence—benefit from our "try before buy" approach.

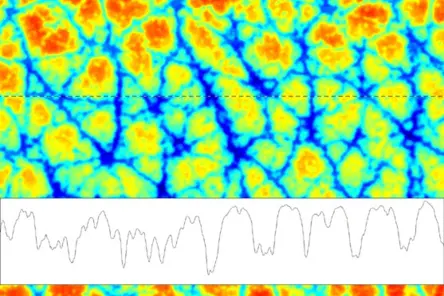
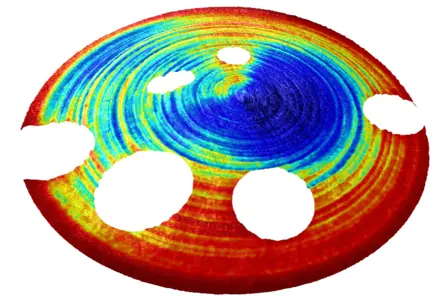
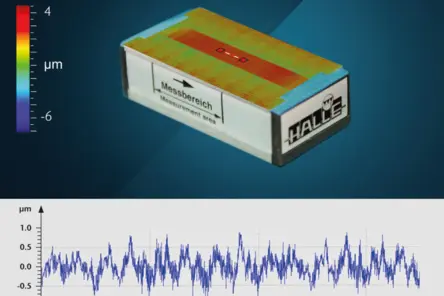
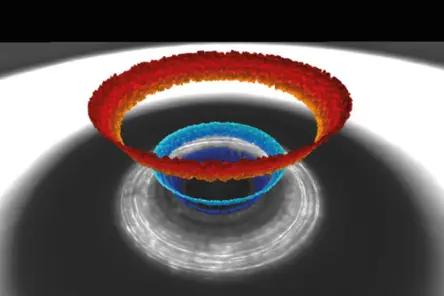
Form and roughness measurement examples
Below or some real-life results from standard tasks across common engineering materials. Those examples are gathered by our application centers which does feasibility studies and offers contractual measurement services.
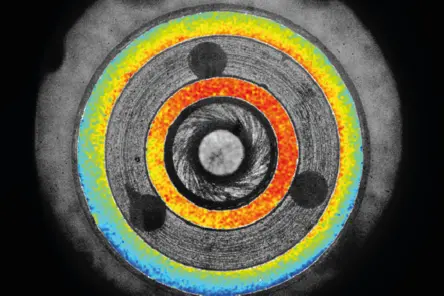
Choose the right surface profiler with confidence—talk to our metrology experts.
Embedded features support high precision and efficient workflows - even in rough environment
The key feature of the ProSurf+ is the added chromatic-confocal sensor with 400 µm vertical range, ~2.6 µm lateral resolution, 10.8 mm working distance, usable down to typical Ra ≥ 100 nm (application-dependent). Roughness is acquired within the same recipe as form.
As on Pro.Surf, you also get a wide FoV up to 44.9 × 33.8 mm (extendable to ~228 × 221 mm via stitching), automation-ready operation with motorized stages, recipe control and barcode start, plus telecentric WLI/CSI and a 70 mm Z-range for nanometer-level vertical performance.
Integrated roughness sensor (with Pro.Surf+)
→ Measure large-area form and roughness with one system
Chromatic-confocal sensor (400 µm range, ~2.6 µm lateral resolution, 10.8 mm working distance) adds roughness in the same station; typical roughness measurement Ra ≥ 100 nm.
- Combine form + roughness in one pass
- Long working distance for safe sample handling
True Stitching - Higher accuracy for wider samples
→ True Stitching provides unmatched precision when scanning wide-area samples
Because larger surfaces exceed the single-shot field of view—stitching merges tiles into one accurate dataset. The metrology quality of such large-area measurements depends on the optics and sensing technology, the number of tiles and the stitching algorithms.
True Stitching delivers high-fidelity large-area measurements by minimizing stitching artifacts and preserving geometry.
An independent benchmarking at a leading German technical university compared six optical profilers from different manufacturers and the Polytec profilometer demonstrated the highest stitching and measurement quality. This is achieved through several key features:
- Large single-shot FoV → fewer tiles and seams, less cumulative error
- Sophisticated stitching algorithms → controlled overlap, robust registration, and metrology-safe blending that preserves steps and edges
- For Pro.Surf: Telecentric/CSI optics with correlogram evaluation → stable geometry and height fidelity across tiles
The result is high-fidelity, large-area topography with fewer artifacts and audit-ready residuals—what we call True Stitching.
WLI with telecentric optical design
→ Keeps geometry accurate across height and dept
Traceably calibrated WLI/CSI delivers non-contact, areal 3D data with nanometer vertical resolution. The telecentric optical approach keeps the beams / rays parallel to the optical axis, preserving constant magnification and uniform illumination over height—even enabling measurements in holes.
- Non-contact, repeatable, fast areal scans
- Phase/envelope evaluation for smooth and rough surfaces
- Smart Scanning Technology with dynamic range handle both both rough to shiny - low to high reflecting surface areas
- Long-life 525 nm LED
Large field-of-view (FoV) optics
→ Reduces stitching and cycle time
Pro.Surf offers a wide single-shot field of view up to 44.9 × 33.8 mm (with ~1.91 million points), so broader samples or multiple parts can be measured in a single acquisition. With the built-in stitching function, coverage extends up to ~228 × 221 mm.
- Measure multiple samples at once; automatic sample recognition available
- Short cycle times; reduced stitching effort
ECT Environmental Compensation Technology
→ Stabilizes results in real shopfloor environments
Noise and ambient vibration on classic machine shops can affect precision measurements. The patented ECT Environmental Compensation Technology compensates for such disturbances, ensuring consistent data even in noisy production environments.
- Improves reliability in noisy or unstable environments
- Enables automation and inline QC without full isolation
- Especially helpful for sensitive components (e.g., MEMS, thin films)
Ready for automated metrology workflows
→ Enables unattended, repeatable measurements
The modular design and motorization options make it easy to automate and integrate the Pro.Surf profilometer into existing processes and machines. A bundle of features and capabilities enables highly efficient and unattended metrology workflows:
- Pattern matching and Smart Scanning Technologies
- Motorized X, Y, Z, tip/tilt stages
- Large FoV and automated stitching for high-resolution scans over large areas
- Recipe system in TMS (Software) for operator-independent workflows
- Rugged design without external moving parts and ECT (environmental compensation technology)
Pattern matching
Machine-vision routine that finds and registers parts against a template so recipes hit the right locations—even if parts are shifted or rotated. This reduces the costs and handling effort for fixtures and makes the measurement much easier. Ideal for trays and multi-sample runs.
SST Smart Scanning Technology
Dynamic range that adapts to varying reflectivity/contrast so you can measure “almost any surface” from matte or dark to shiny, from low to high reflecting areas in one setup in the TopMap Software.
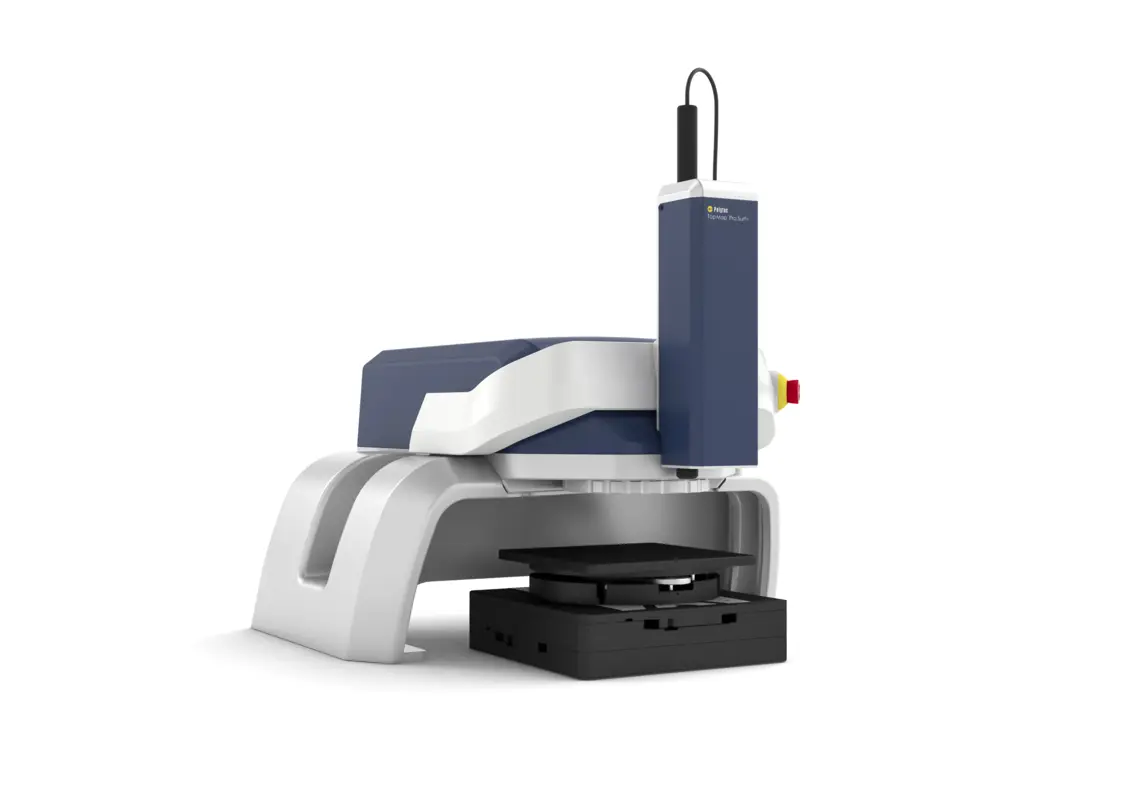
Roughness sensor
Chromatic-confocal sensor with ≈400 µm vertical range, 2.6 µm lateral resolution, 10.8 mm working distance
Telecentric optic
Enabling parallel rays to the optical axis for constant magnification —enabling measurements near edges and into bores.
Automation with recipes
Sample recognition and pattern matching for tray scans; barcode start with automatic sample/recipe ID logging
Large Field of View (FoV)
Single-shot FoV up to 44.9 × 33.8 mm (1.91 Mpts). Built-in stitching extends the measurement area to ~228 × 221 mm for trays and larger components.
Big sample volume
Positioning volume up to 200 × 200 × 70 mm. Motorized XY and tip/tilt options
Modular setup, specification and options
| Small field | Large field | |
| Roughness measuring range | 400 µm | |
| Roughness lateral resolution | 2.6 µm | |
| Typical roughness measurement | Ra >= 100 nm | |
| Positioning volume | 200 x 200 x 70 mm³ = 0.028 m | |
| Max. number of points in single measurement | X: 1,592, Y: 1,200 | |
| Vertical range | 70 mm | |
| Measuring area | X: 22.8 mm Y: 17.2 mm X·Y: 392.2 mm² | X: 44.9 mm Y: 33.8 mm X·Y: 1,517.6 mm² |
| Measurement point spacing | X: 14.3 µm Y: 14.3 µm | X: 28.2 µm Y: 28.2 µm |
| Calc. lateral optical resolution | 8.4 µm | 16 µm |
| Measurement noise | < 0.5 nm (phase evaluation, smooth surfaces) | |
| Vertical resolution | < 1.45 nm (phase evaluation, smooth surfaces) | |
Downloads
Feasibility check?
Send us your sample and we run a feasibility study with our profiler and walk with your through the results.
This gives you a precise understanding of the optical profiler’s performance on your actual samples.
Related information and downloads
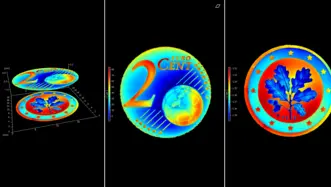
Flatness, thickness and parallelism
Flatness, thickness and parallelism (FTP) measurement combines top & bottom topography measurement in a single shot.
Surface roughness measurement
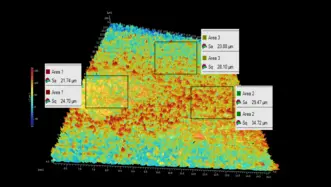
Surface texture analysis in 3D. From Sa/Sq to Str/Sal for validating specifications and surface features.
"Try before buy" offer
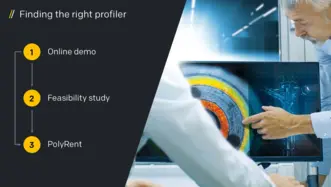
Measure, rent, decide - on your terms. Make a confident decision about which surface profiler fits into your metrology strategy and safeguard your capital investment.
Discuss your demands with our experts
Let’s start with a short discussion about your parts, tolerances, and workflow—and, if useful, we can add a feasibility study, PolyMeasure (contract measurements), or a PolyRent trial as optional next steps.
