Surface topography of optics, glass & transparent materials
Quality and manufacturing productivity of components such as lenses, mirrors, and optical elements are ensured by measuring form and roughness parameters down to the sub-nanometer level. Everything is achieved with a high efficiency to safeguard manufacturing throughput.
Find efficient measurement and testing solutions for quality inspection of optics, glass or other transparent materials within the range of TopMap optical surface metrology. Optical profilers by Polytec are flexible and easy-to-use inspection systems for measuring thickness, determining form parameters like flatness, step-height, or parallelism — fast and with nanometer precision.
Polytec also offers custom solutions depending on your roughness, distance, or thickness requirements. Benefit from high precision with sub-nanometer resolution data or large-area scanning to cover larger samples, or even multiple samples in one shot. Fast measurements meet high repeatability: Inline, on production level and in the lab.
- Measure lenses and mirrors
- Design freeform optics
- Check Diffractive Optical Elements (DOE)
- Inspect laser and other optical equipment
Surface profilers for optical components
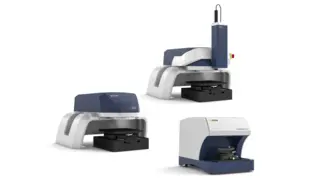
Macro Profiler
Pro.Surf with its areal topography scanning determines form and flatness faster. Its telecentric optics with large Z range reaches holes and recessed surfaces. The largest FoV and True Stitching handles big samples and multi-sample measurements with ease. Upgrade to Pro.Surf+ and also analyze roughness all-in-one.
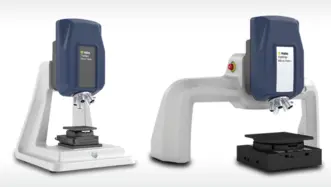
Micro Profiler
Micro.View profiler systems are optimized for measurements with sub-nanometer resolution. With focused optics and high vertical resolution they enable detailed analysis of microstructures, surface finish and material distribution where even the smallest deviations matter.
Measure form, flatness & roughness on lenses, optics, mirrors
Measure surface form parameters, evaluate flatness or step height on optical components, glass, and transparent media. TopMap surface profilers allow for complete and fast inspections of lenses, optics, freeform optics, or mirrors for design optimization and quality control in manufacturing. Transparent materials such as optics, mirrors, or lenses are challenging to measure due to their sensitivity to scratches or defects (tactile measurement) and reflectivity (optical measurement). Avoid scratches and the influence of tactile measurement tips by using non-contact optical measurement technology. Large-area topography scanning of Polytec enables the capture of entire workpieces or larger areas in one shot. The elaborated SST Smart Scanning Technology also handles with measuring different and challenging surface reflectivities, providing reliable measurement performance on dull, matte, coated, and shiny surfaces.
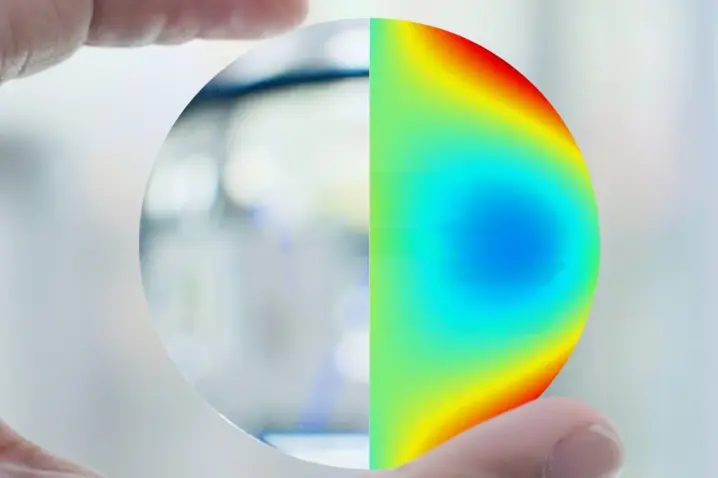
Typical optics measurement tasks and "optical applications" for white-light interferometers
- Flatness measurement of mirrors
- Complete 3D characterization of lenses and freeform optics
- Warpage measurement on thin films or layers
- Layer thickness measurement
- Separated inspection of form, waviness, and texture
- Roughness and microstructure analysis in the sub-nm range
- Defect detection and evaluation in scratch testing
- Step height measurement on precision mechanics such as mirror and lens holders
- Form tolerance check of optical precision equipment (lasers, interferometers, etc.)
- Combined measurement of Flatness-Thickness-Parallelism of top and bottom surface in one shot
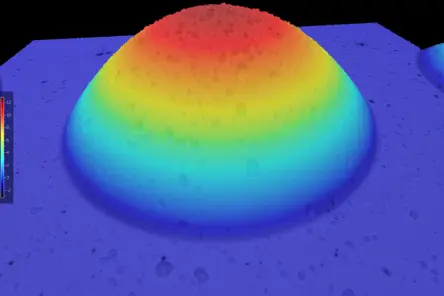
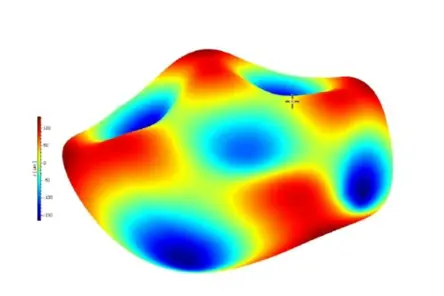

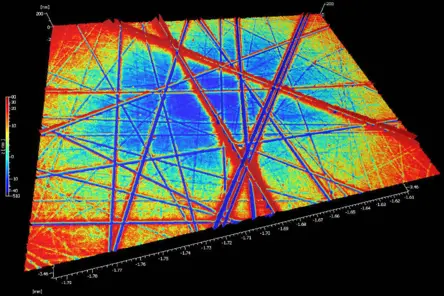
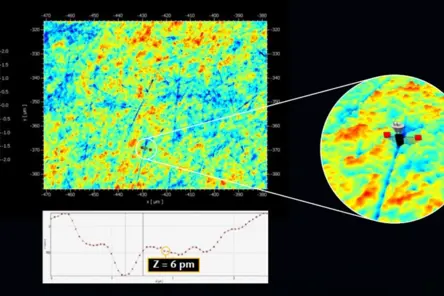
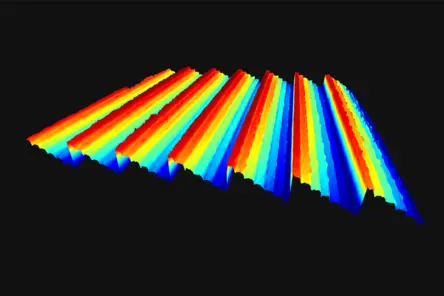
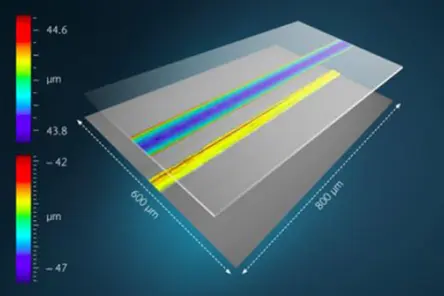
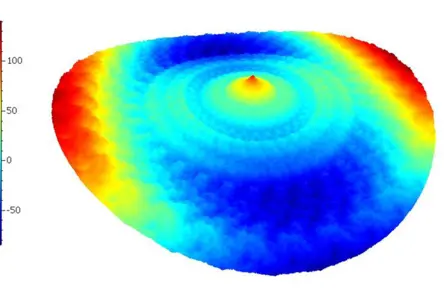
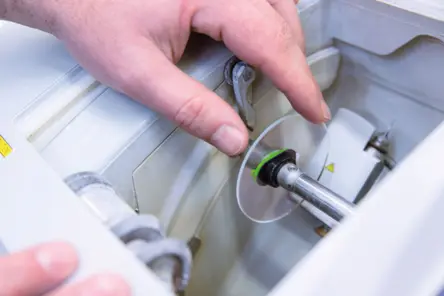
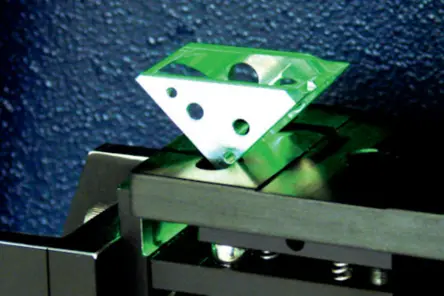
Measurement tasks in the optical industry
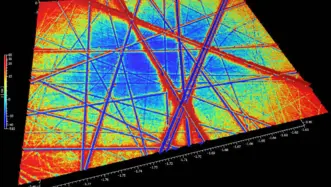
Optical polishing
Superfinished surfaces and optical polishing demand non-contact, areal and high-precision white-light interferometers. Polytec profiler delivers remarkable results even with very reflective or transparent materials.
Surface step height
Profilometric step-height measurement delivers objective layer/etch depth and uniformity from areal data, supporting ISO-aligned reporting and production SPC.
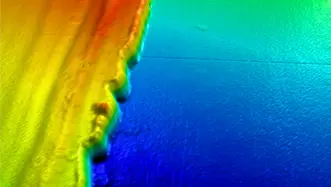
Layer thickness
Measure areal surfaces parameters to control layer thickness and optimize coating processes for minimizing quality costs.
Discuss your demands with our experts
Let’s start with a short discussion about your parts, tolerances, and workflow—and, if useful, we can add a feasibility study, PolyMeasure (contract measurements), or a PolyRent trial as optional next steps.


