Optical polishing and quality control of polished components
Optical polishing is a fabrication technique widely adopted for the manufacturing process of high precision mechanical and optical components where there is a demand for minimal defects and smooth micro-roughness values. Optical polishing is a method for receiving a superfinish or microfinish of surfaces necessary for further processing, long-term quality and functionality. High precision optical components are made from many materials from glass through to metals. The components manufacturing process are finished with a polishing process in order to meet optical surface finish requirements.
Each manufacturer will have small variations on this basic method of polishing, as well as proprietary techniques to achieve specific goals. For example, different material parameters will behave differently to different spindle / lap speeds. What is the consistency of the small abrasive particle sizes within the slurry that flows over the optical surfaces? How does time affect the polishing process and are larger particles / outside contamination causing scratching, imperfections or damage to the surface?
In short, many surface parameters have an effect on the outcome of the quality on the final surface topography.

Analyzing polished, lapped or ground surfaces
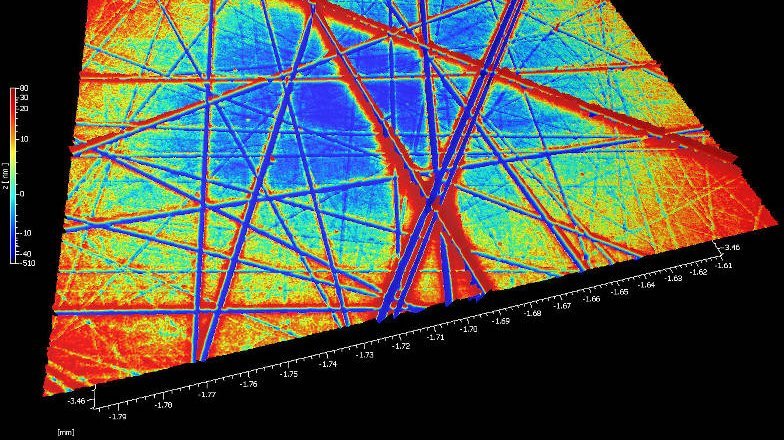
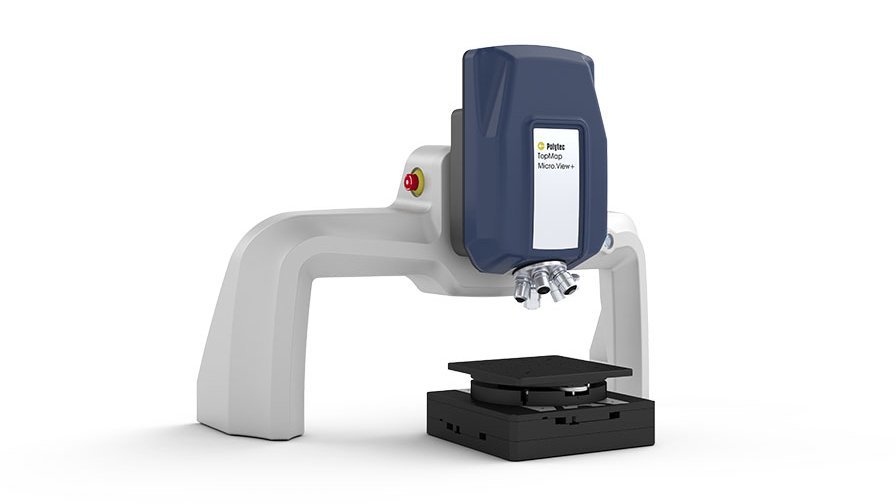
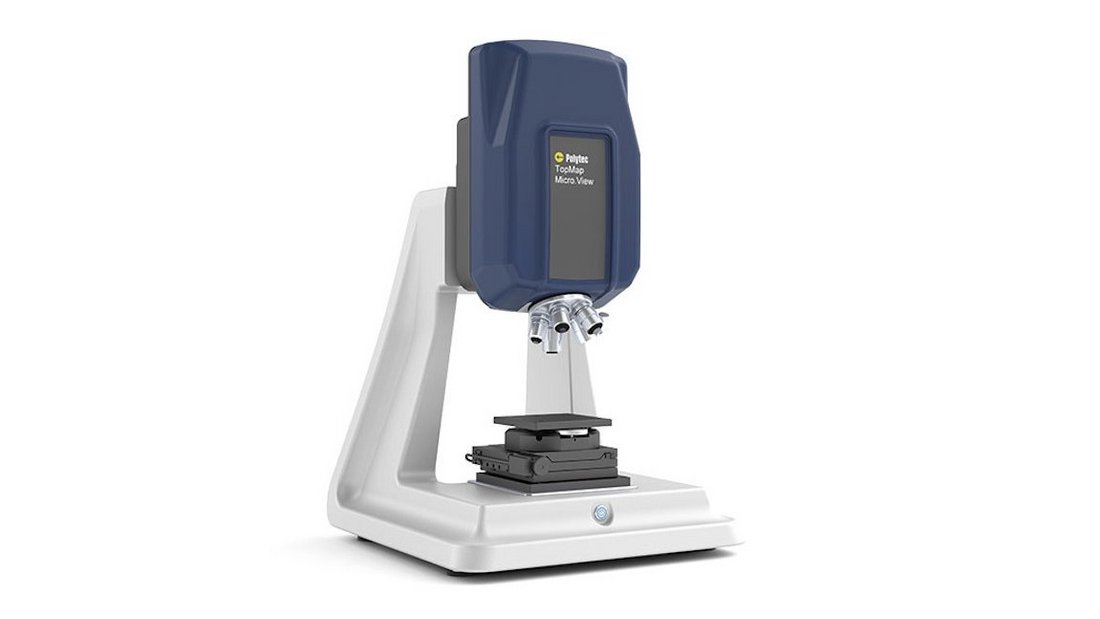
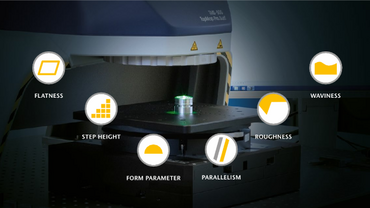
Large-area 3D topography scanning measurements with TopMap profilometers enable efficient inspections of polished surfaces such as optics, lenses or mirrors as well as CNC-machined surfaces such as machine components and sealing surfaces. They characterize shape parameters such as flatness and steps, but also texture and roughness with high resolution down to the nm range. Using the SSST Smart Surface Scanning Technology, they measure on all materials whether on shiny, matte, smooth or rough surfaces.
