Combined top & bottom topography in a single shot
Functionality and quality of industrially manufactured components relies on well-controlled and well-monitored machining processes. Quality control, close to line or inline quality inspection often uses surface metrology for evaluating form, roughness and other surface parameters. Sometimes, the combined look on front and back sides of a workpiece is indispensable for a comprehensive quality analysis.
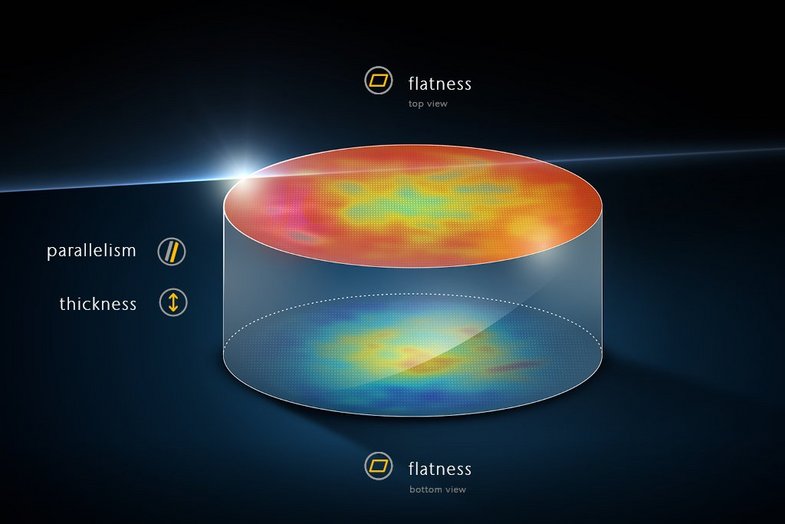
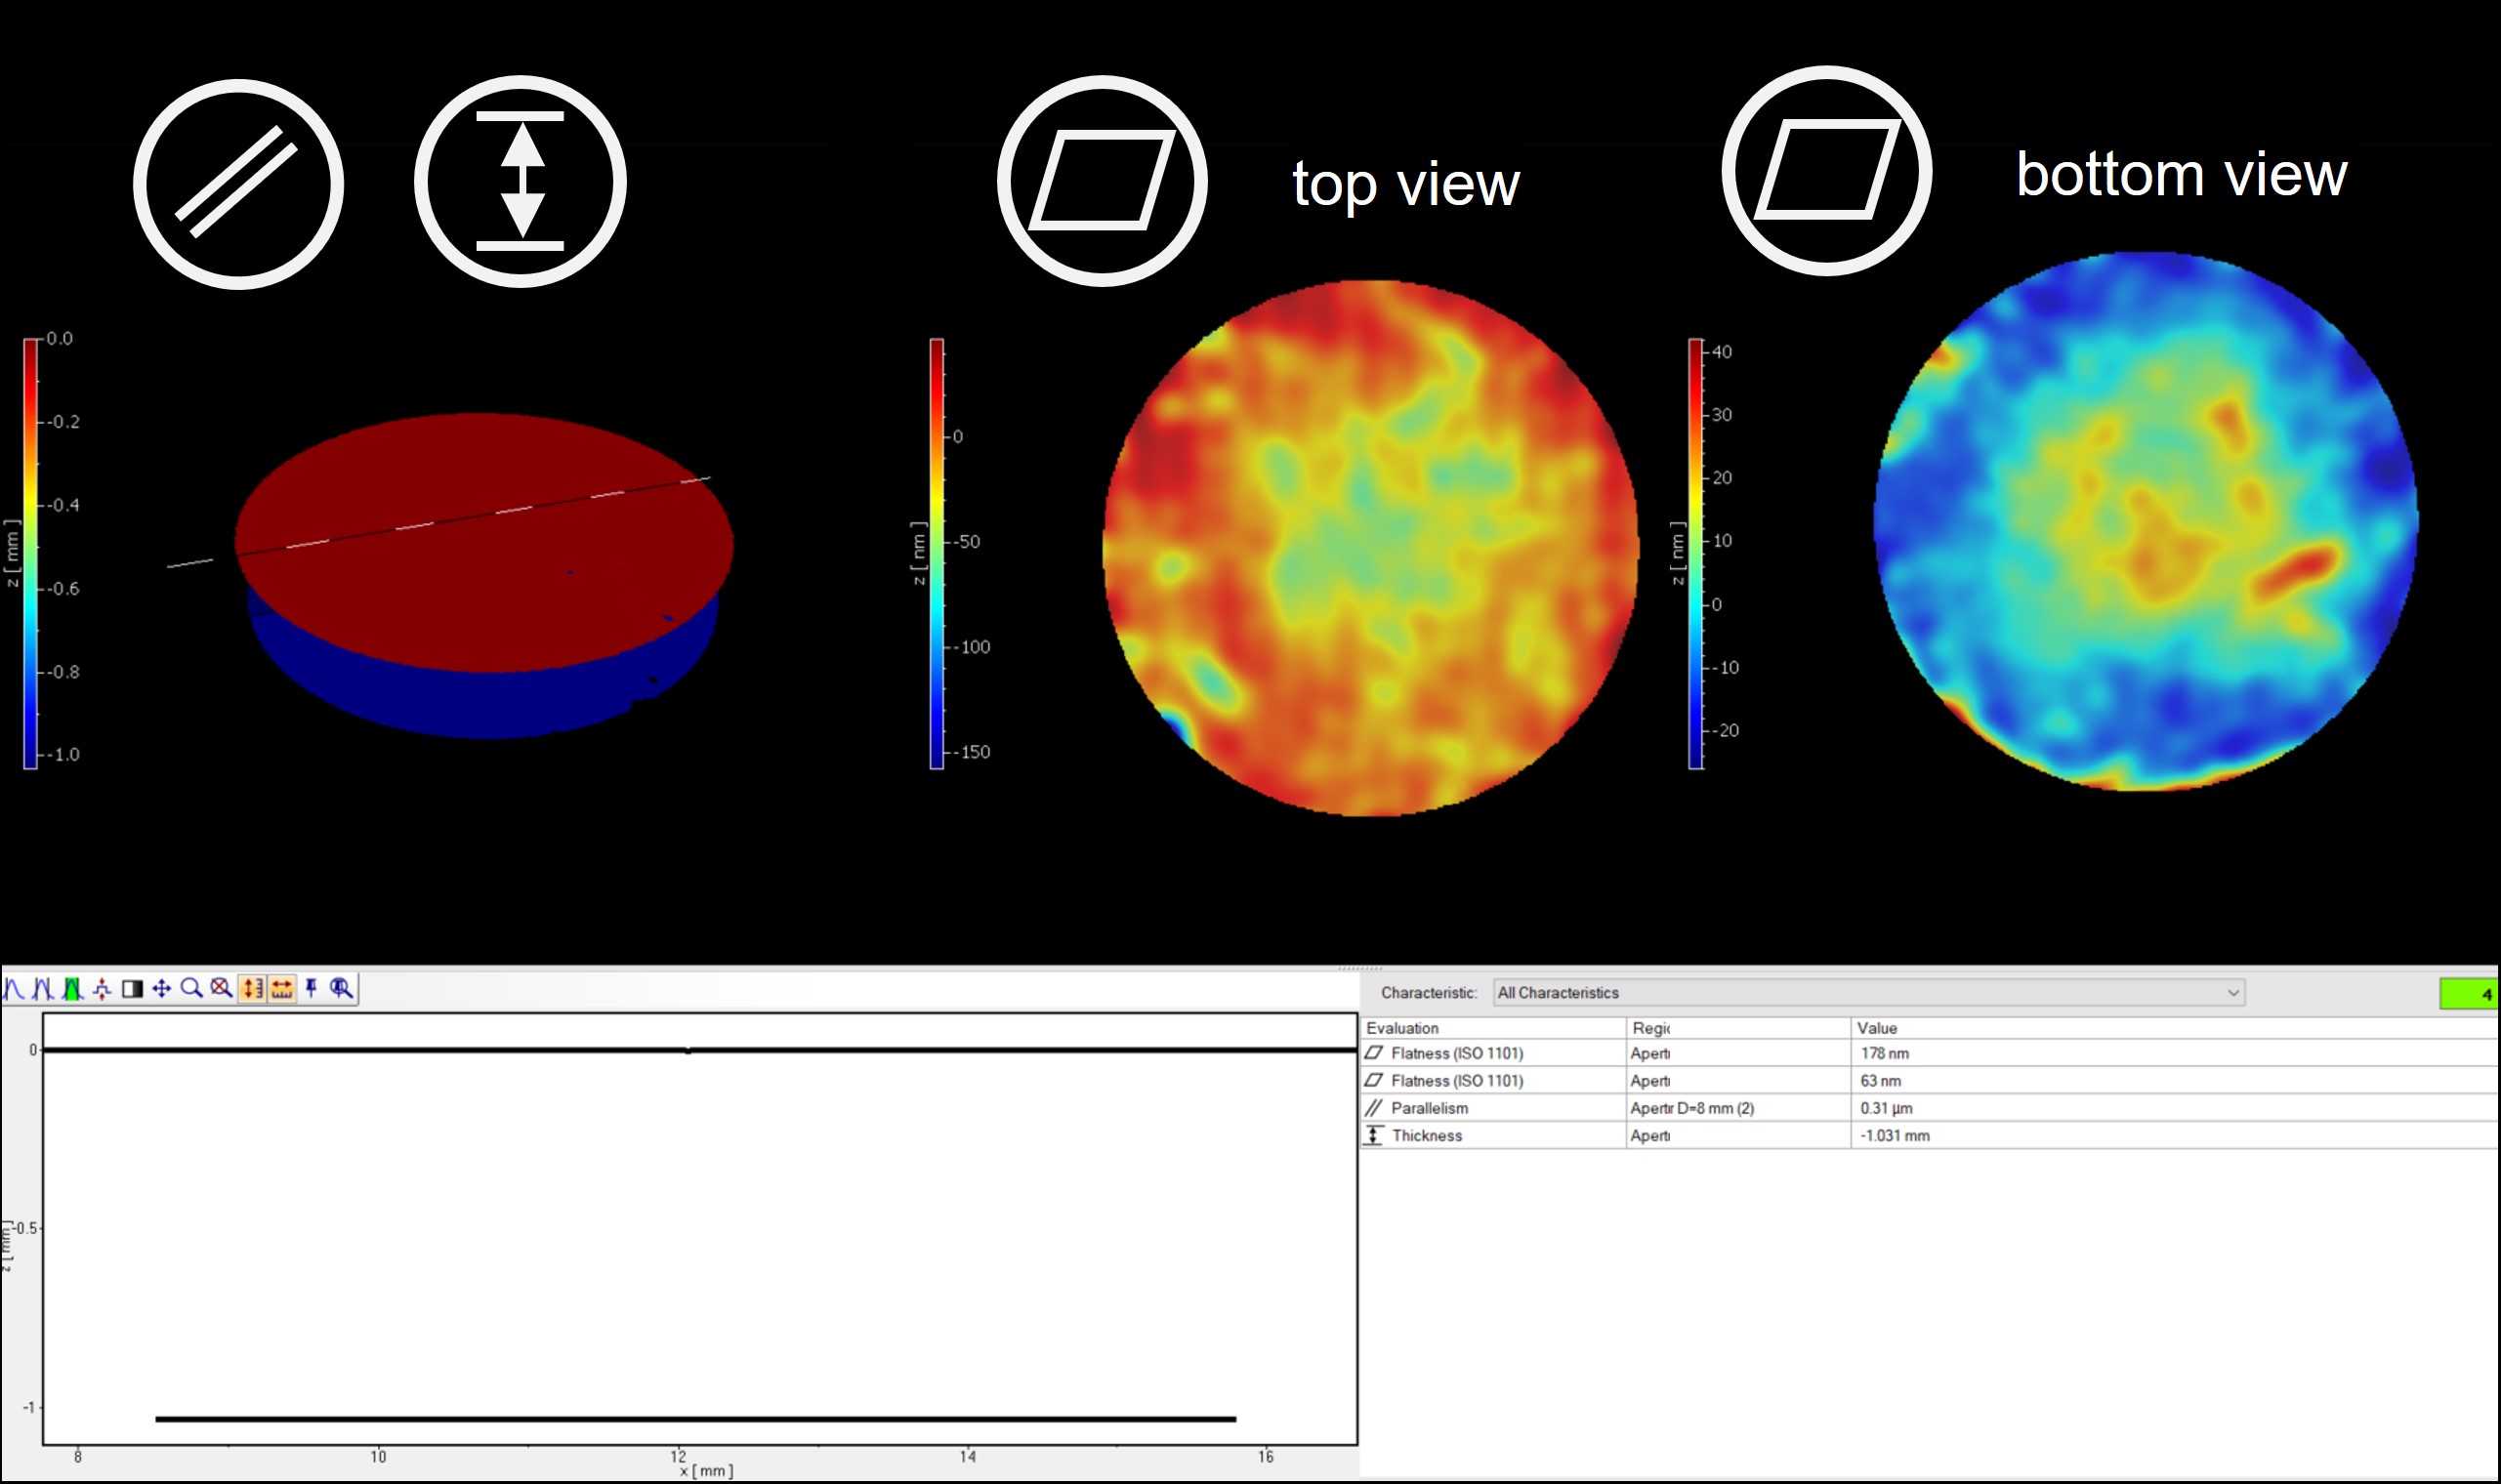
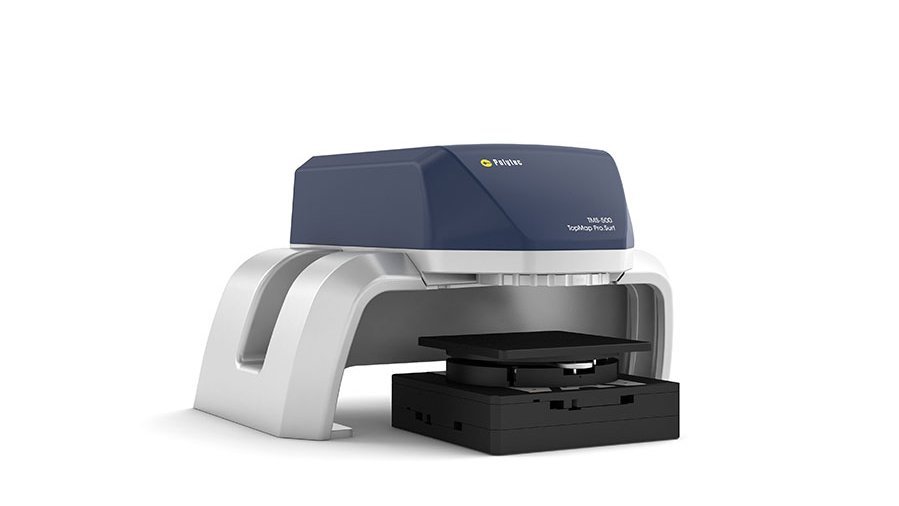
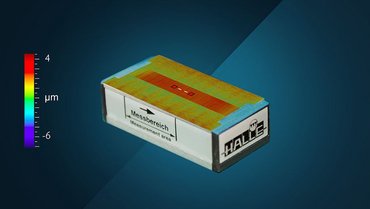
Now, Polytec enhances the perspective for valid measurement results, providing a combined top & bottom topography in a single, but areal and direct measurement.
Top + bottom topography needed?
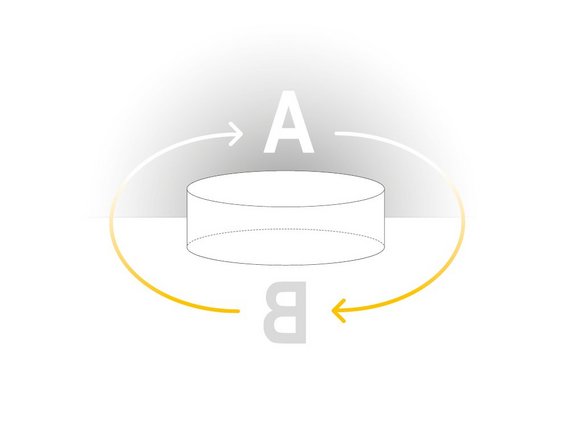
Flipping or swapping the sample
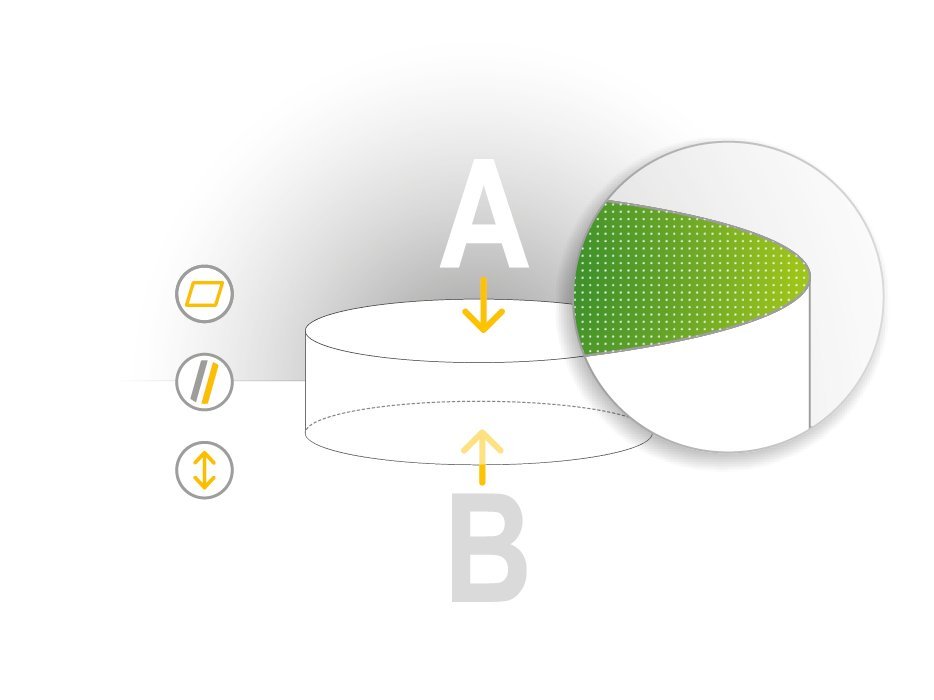
In some cases front and back sides can be measured by flipping the sample. This is mostly realized by a rotational unit and requires a complex alignment procedure. The FTP concept of Polytec measures without need of rotation, nor flipping, thus avoiding additional sample alignment for a faster and more simple operation.
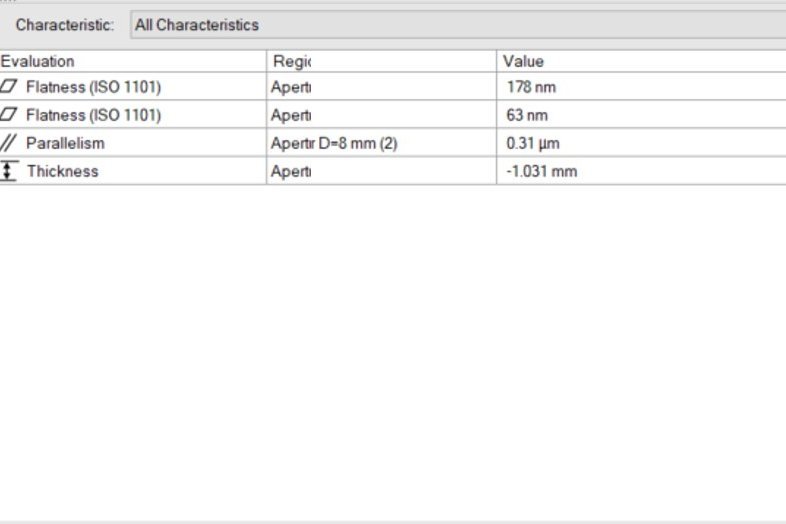
We provide flatness, thickness, parallelism in a single shot
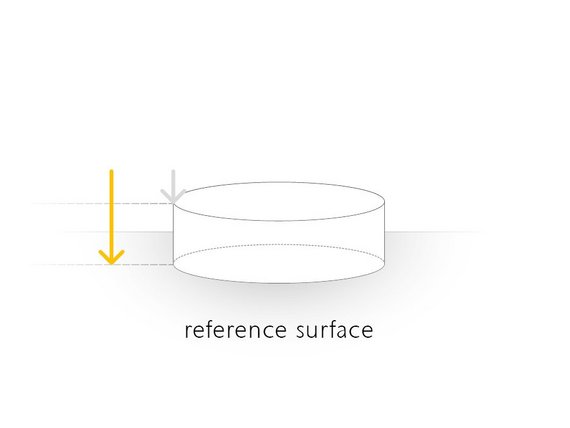
Indirect vs direct measurements
Indirect measurements use a reference surface to characterize the backside of a sample due to lack of access to the original sample surface. These standard procedures often lead to time-consuming sequential measurements of a workpiece. Plus, the results base on the assumption of the reference surface being perfect.
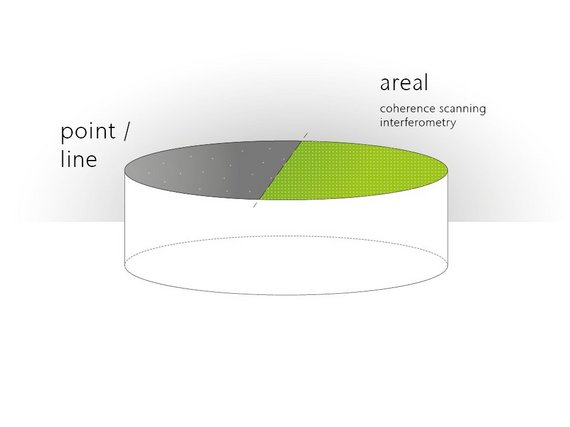
Data density depending on line vs areal profiling
Common single-point or line-profile based evaluations can only gather a limited measurement points of the true 3D (areal) surface. This results in time-consuming procedures along with the sacrifice of either higher point density or throughput. Here, the Polytec FTP combined measurement approach provides a non-contact, high data density or areal measurements from both top and bottom view in a single measurement.
