Relevance of surface texture in industrial quality control
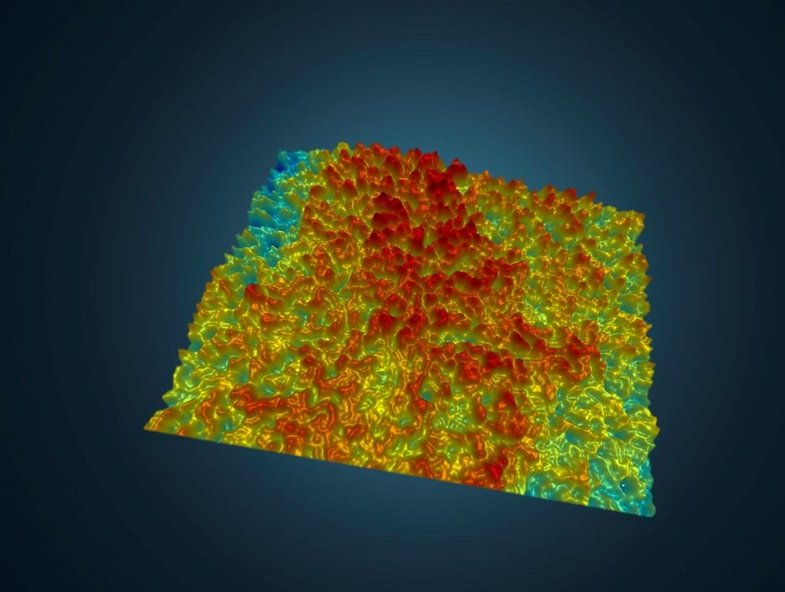
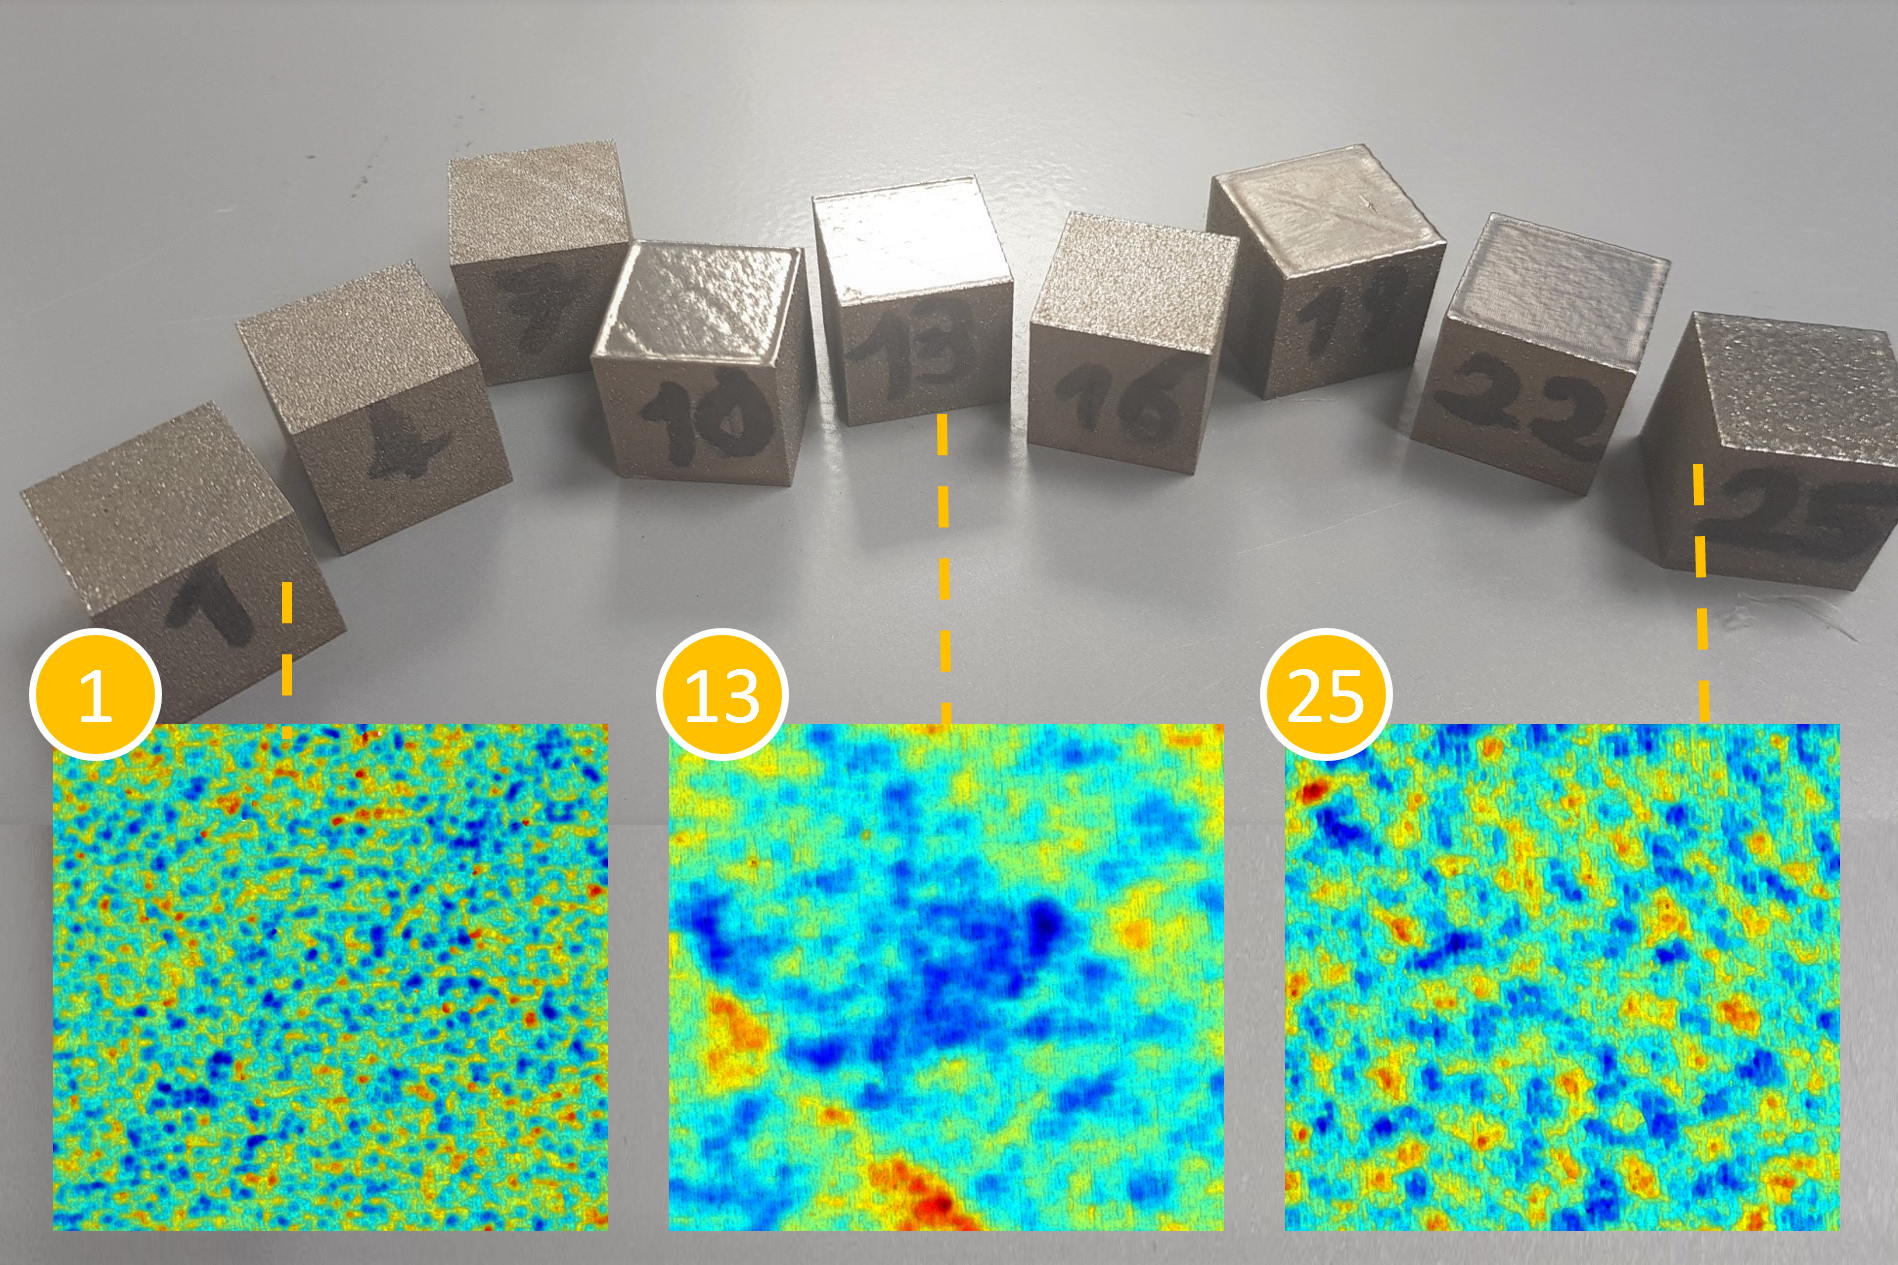
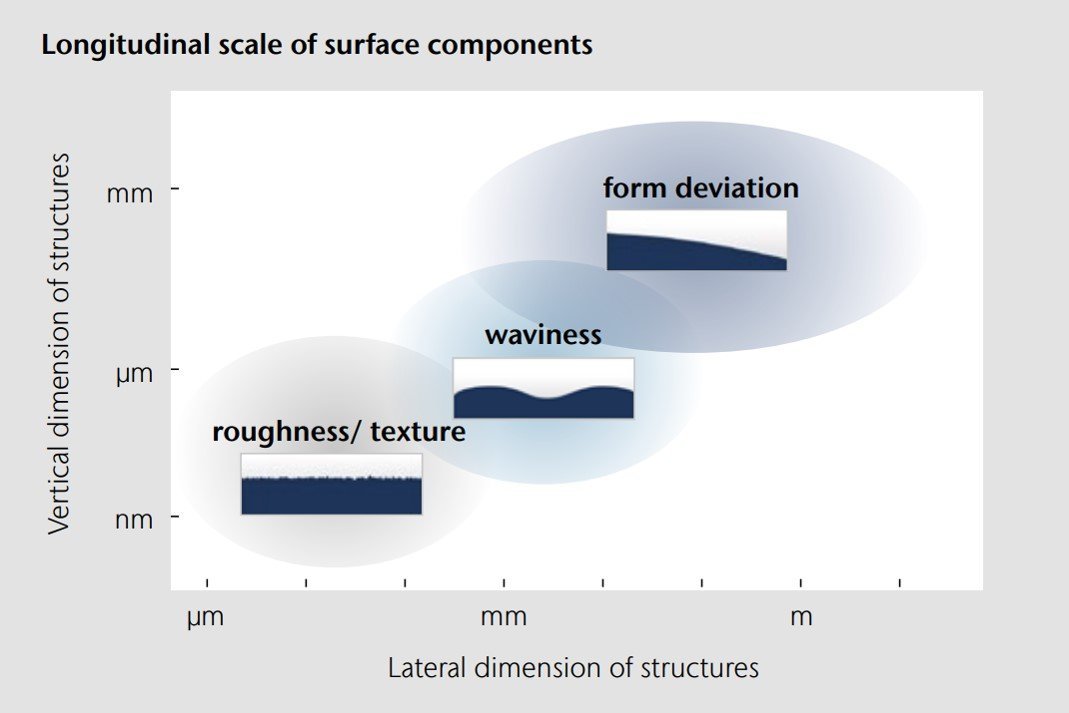
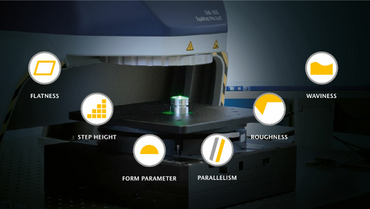
Surface texture defines the topographical features of a workpiece surface, including characteristics such as roughness, waviness, and lay. These parameters may affect the performance, appearance, friction, corrosion resistance, fatigue behavior and thus the functionality of a component. So the surface texture influences a wide range of products, whether in industrial machines and systems, medical devices or consumer goods. Surface texture is crucial throughout industries including manufacturing, automotive, aerospace, and electronics.
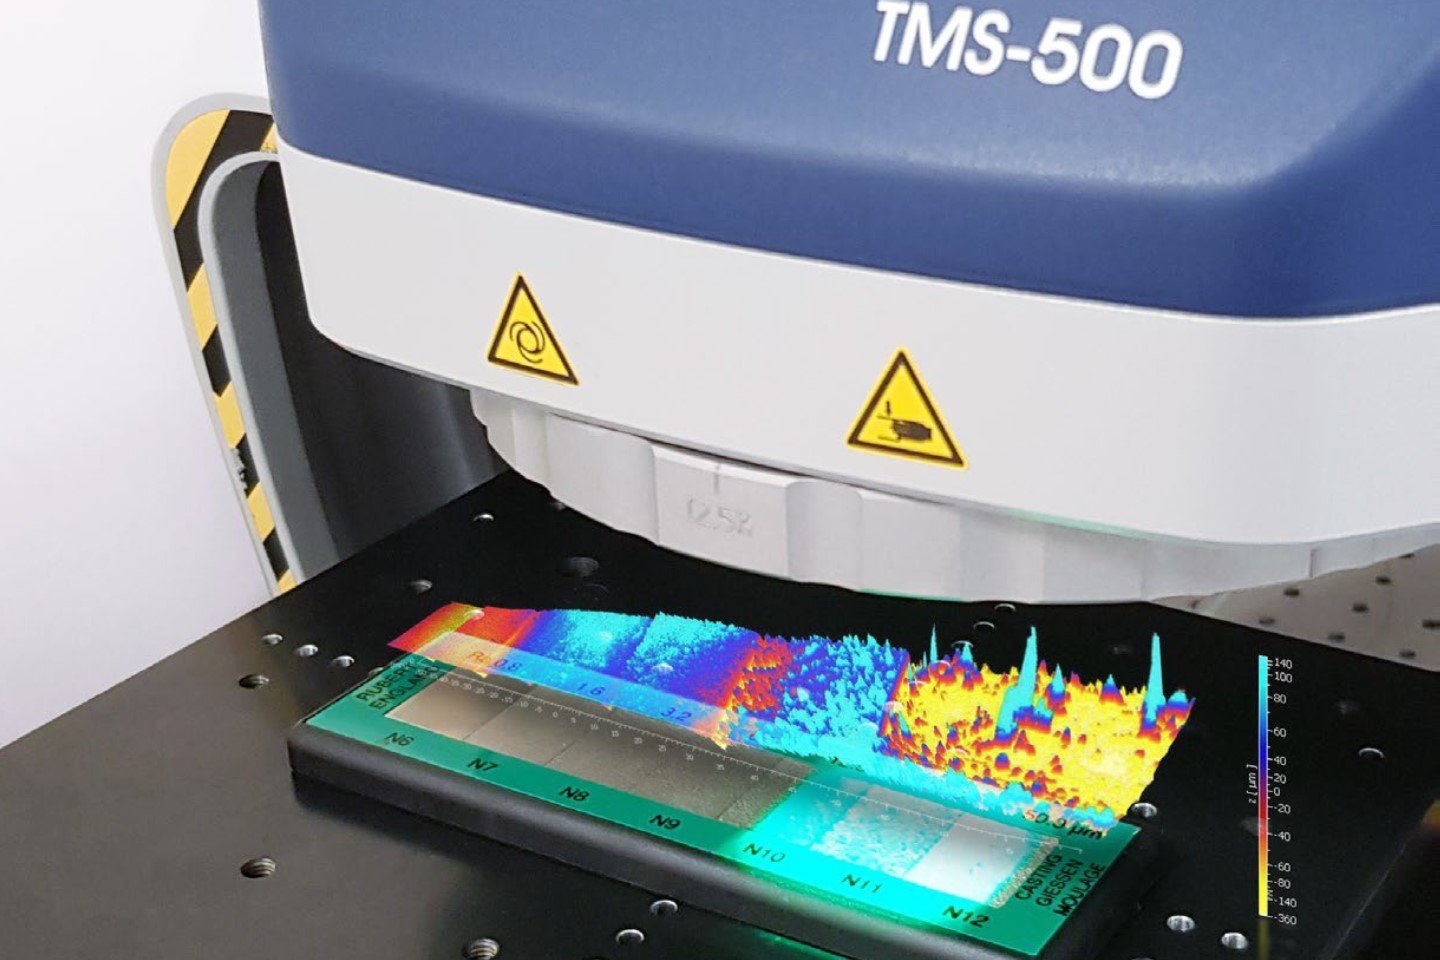
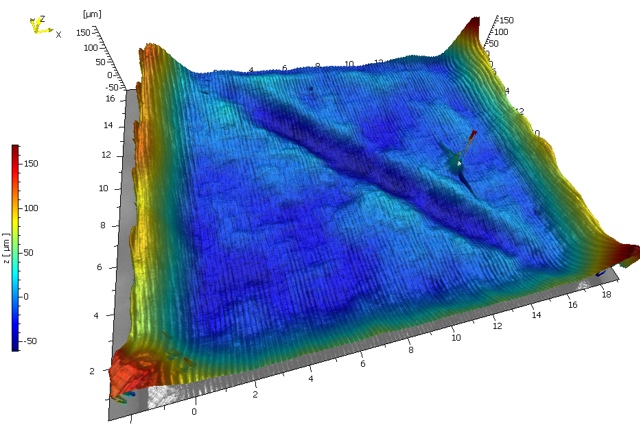
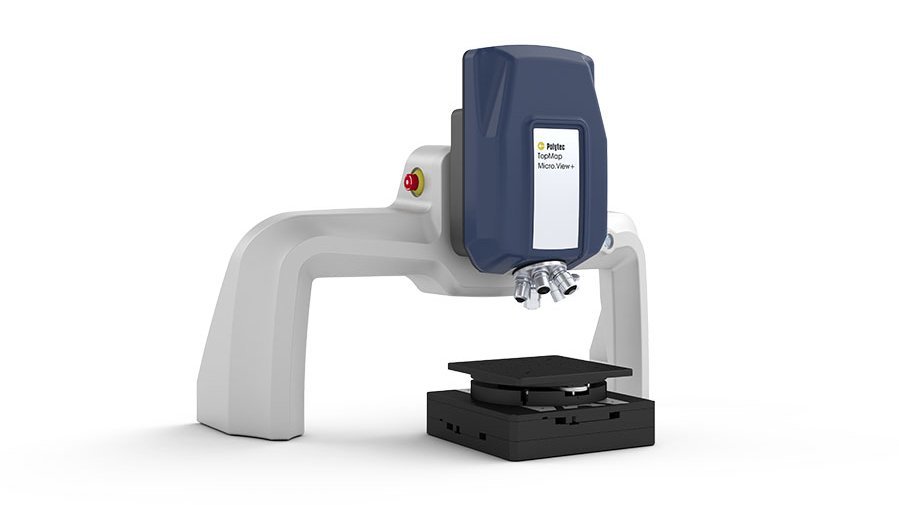
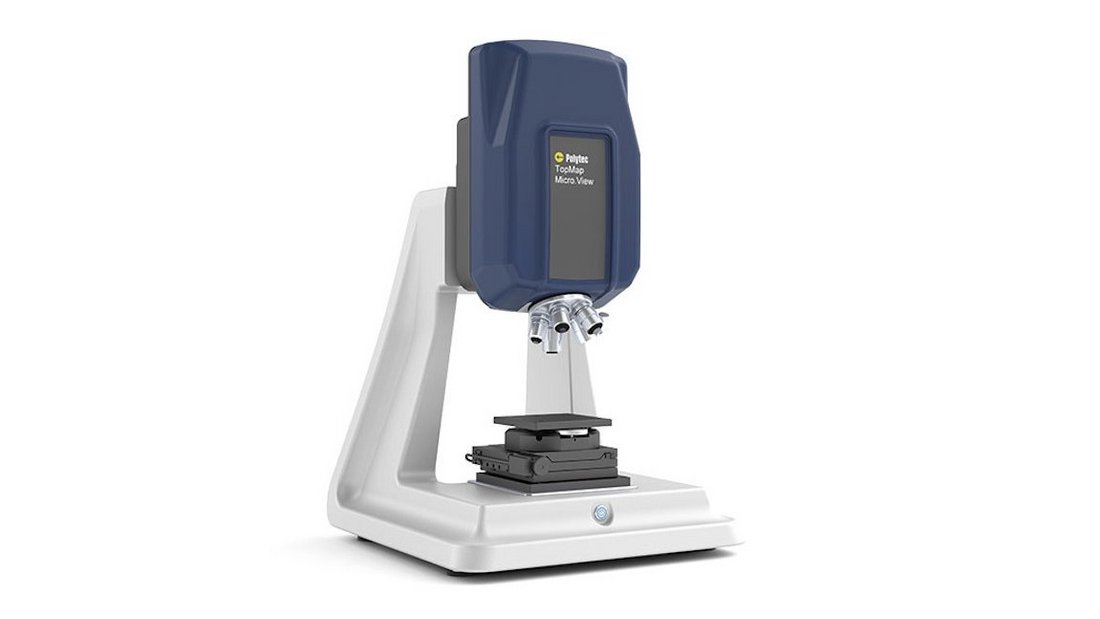
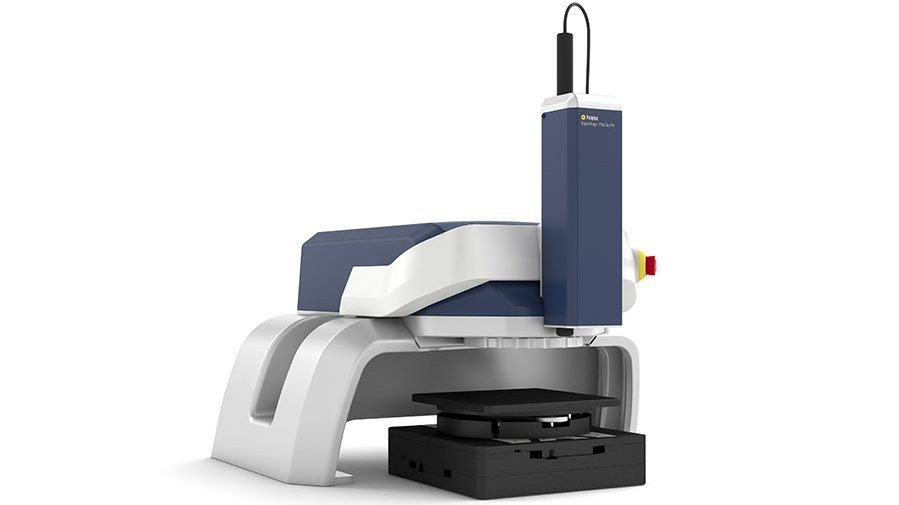
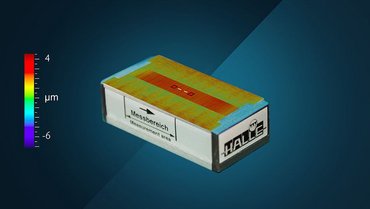
TopMap optical profilers provide 3D texturing measurement data based on precise height data by large areal scanning technique, enabling fast and repeatable measurements and reliable results. Contact us for a free demo and feasibility study!
材料の質感向上
材料の表面処理技術はトライボロジー特性に大きく影響します。製品表面の摩耗特性、潤滑性、軽量化を最適化する必要がある場合には、質感(テクスチャ)は必須です。質感(テクスチャ)のマイクロナノレベルの分解能の特性評価手法は、ひいては燃焼エンジンやトランスミッション部品などの製品の機能性向上に極めて重要です。
ポリテックでは、お客様のご要望に応じて、材料の製造工程でも表面の構造を評価できるさまざまな非接触表面粗さ・形状測定機をご用意しています。
Download the exclusive guide on ISO 21920
Read the full exlusive paper (login) about the relevance of technical drawings (replacing ISO 1302), why ISO 21920 is more than just Ra (replacing ISO 4287 and ISO 13565-2/ -3) and how to achieve valid measurement results (replacing ISO 4288).
Characterize (3D) textures with optical and tactile profilometry
There are different approaches for measuring surface texture:
- optical, non-contact measurements
- and tactile, line-based measurements.
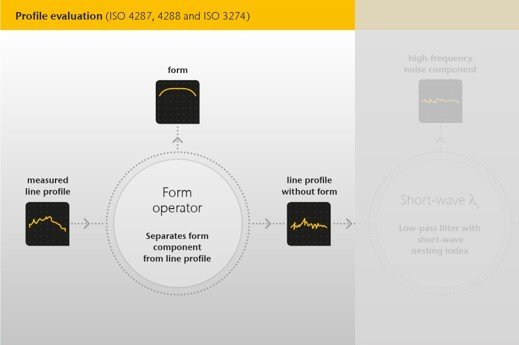
ISO standards provide a common framework for characterizing and specifying a surface texture, regardless of the measurement method used.
Tactile surface texture measurement
Tactile surface profilers use a stylus or probe to physically touch the surface of the material being measured. The stylus moves along the surface, recording height variations during movement. These profilers are used for measuring surface roughness and texture parameters like Ra, Rz, and Rq. They are typically ok for a wide range of surfaces, including those that may be transparent or opaque. Tactile measurement provides a direct contact with the surface, analyzing for detailed surface features. However, tactile profilers can potentially damage delicate or soft surfaces, and become time-consuming and slow when measuring large or entire areas. In addition the stylus is prone to wear resulting in measurement deviations over time.
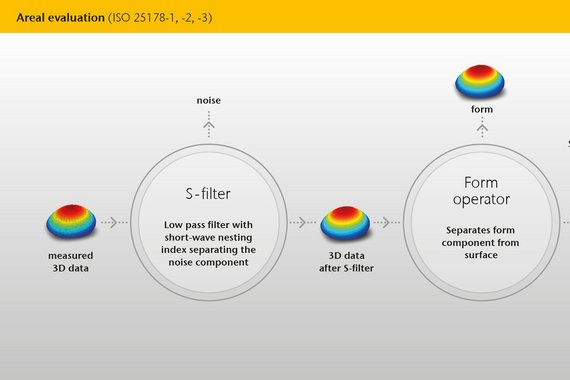
Optical scanning of 3D textures
White-light profilometers or coherence scanning interferometers are optical surface profilers, providing a non-contact measurement approach, reliably capturing 3D surface topography data without physically touching the surface. They are excellent for measuring 3D surface roughness parameters and texture, such as Sa and Sq, as well as for capturing detailed surface structures and shapes. Optical profilers are non-destructive and suitable for all sorts of surfaces including fragile or delicate ones. They are also faster for measuring larger surface areas. However, optical profilers may have limitations on shiny and bent surfaces. In summary, the choice between optical and tactile surface profiling methods depends on the specific application, the type of surface being measured, the required accuracy, and other factors. Both methods have their advantages and limitations.
