White light interferometer as areal, optical 3D measurement system
Modern white-light interferometers use the interference effects that occur when the light reflected from the sample is superimposed with the light reflected by a high-precision reference mirror, making them a key tool in surface metrology.
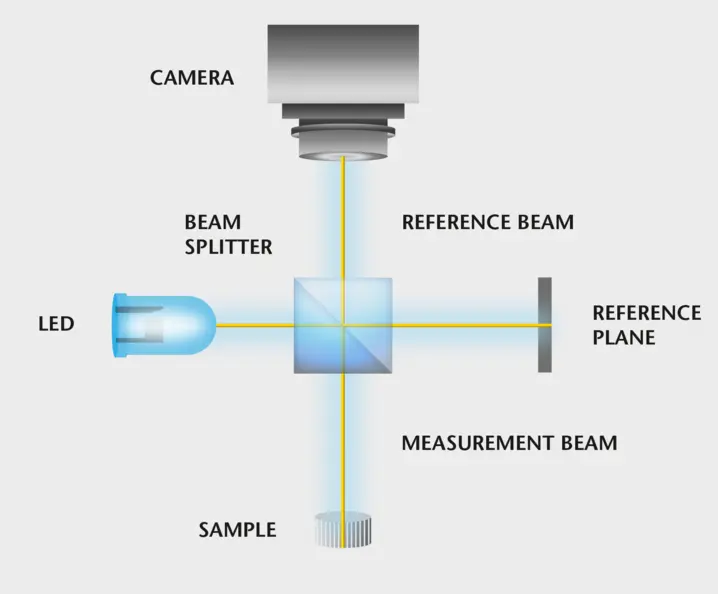
The measurement method is based on the principle of Michelson interferometry, where the optical configuration contains a light source with a coherence length in the μm range. The collimated light beam is split into a measurement beam and a reference beam at a beam splitter. The measurement beam strikes the sample, the reference beam strikes a mirror. Light reflected from the mirror and the sample is recombined at the beam splitter and focused onto a camera.
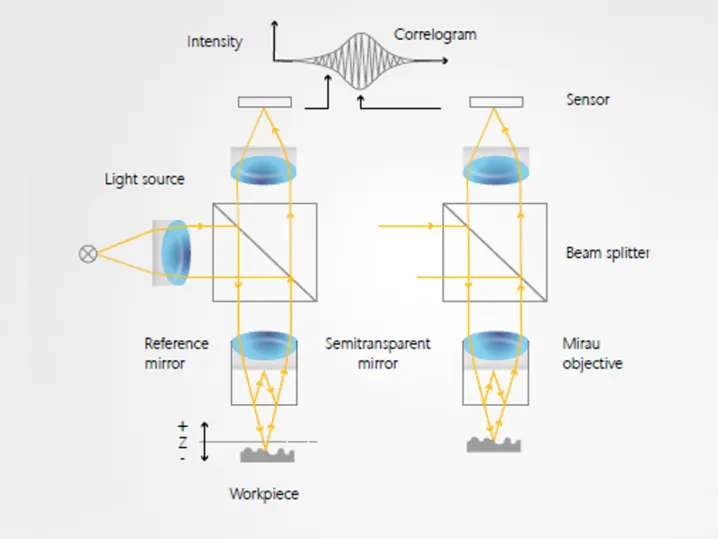
Whenever the optical path for an object point in the measuring arm and the optical path in the reference arm are the same, constructive interference takes place for all wavelengths in the light source’s spectrum and the camera pixel of the object point in question has maximum intensity. For object points with a different optical path, the assigned camera pixel has a low intensity. Consequently, the camera registers all the image points at the same height.
Large area systems with a telecentric configuration allow you to simultaneously and quickly measure the topography of large surfaces in a single measurement. On the other hand optical profilers based on microscope systems, where the optical configuration including the reference arm is integrated into the lens, are more suitable if you require more lateral details on the whole area.
Video of basic principles of white-light interferometer (coherence scanning interferometry)
Benefits of white-light interferometry in surface metrology
Compared with contact/stylus methods, white-light interferometers (WLI) measure true areal (3D) roughness per ISO 25178, capturing anisotropy and complex textures in a single scan with millions of points—so you get higher spatial sampling and stronger statistics at production tact times than line-based stylus traces.
Because it’s non-contact, WLI avoids tip-convolution and wear (no risk of marking soft or coated optics) while delivering repeatable, nanometer-class vertical precision; that said, stylus profilometer remains valuable where profile-only specs are mandated or for quick, cost-effective checks of parameters such as Ra and Rz in production QA. But also in comparison to other non-contact technologies, WLI has various advantages.
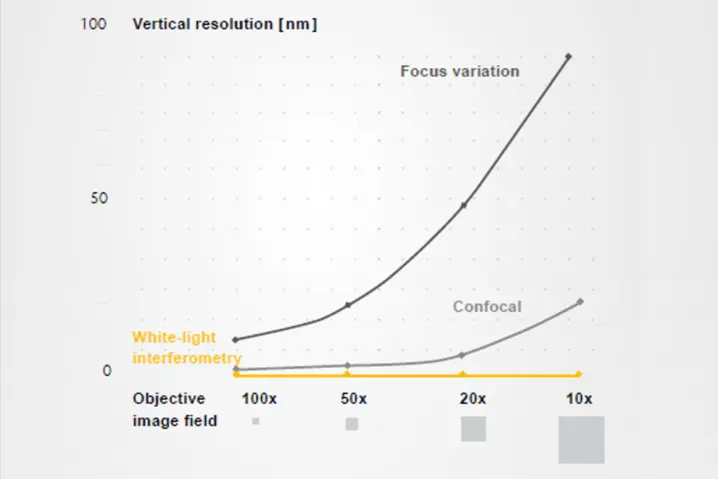
Vertical resolution independent of field-of-view
With the areal measurement method of white-light interferometry (coherence scanning interferometry), the vertical resolution does not depend on the selected objective. White-light interferometry is the only measurement method where the resolution is independent of the field-of-view.
Our white light interferometer portfolio
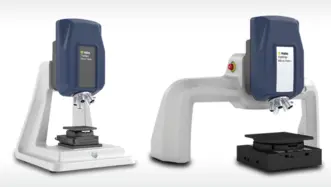
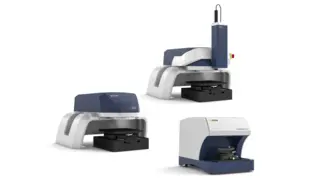
Micro Profiler
Micro.View profiler systems are optimized for measurements with sub-nanometer resolution. With focused optics and high vertical resolution they enable detailed analysis of microstructures, surface finish and material distribution where even the smallest deviations matter.
Macro Profiler
Pro.Surf with its areal topography scanning determines form and flatness faster. Its telecentric optics with large Z range reaches holes and recessed surfaces. The largest FoV and True Stitching handles big samples and multi-sample measurements with ease. Upgrade to Pro.Surf+ and also analyze roughness all-in-one.
Metro.Lab
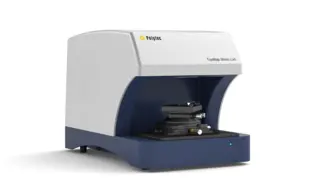
Metro.Lab is a compact, wide-area surface profiler. It combines high measurement performance with a small footprint—ideal for space or budget conscious applications that still require reliable 3D surface data.
Choose the right surface profiler with confidence—benefit from our "try before buy" approach.

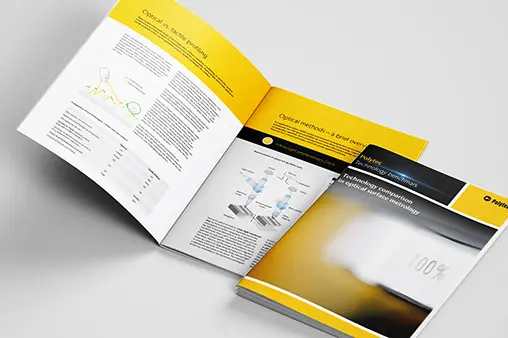
Technology guide: compare pros & cons of optical surface metrology approaches
Find out more about the strengths and limitations of these four common surface measurement methods in the technology comparison, regarding vertical and lateral resolution, application sweet spots on smooth surfaces or roughness measurement, with or w/o stitching
- White-light interferometry
- Confocal microscopy
- Focus variation
- Chromatic confocal sensors
Related stories

Interview with Prof. Dr. Albert Weckenmann about optical and tactile surface measurement technology
We talked with Prof. Dr. Albert Weckenmann of the University of Erlangen-Nuremberg, Germany, about the limitations of tactile surface measurement technology and the opportunities of non-contact methods.
Overview of optical methods for surface metrology
For applications where tactile surface measurement techniques have shortcomings, non-contact optical instruments have been developed to overcome these shortcomings. Especially with the development of compu…
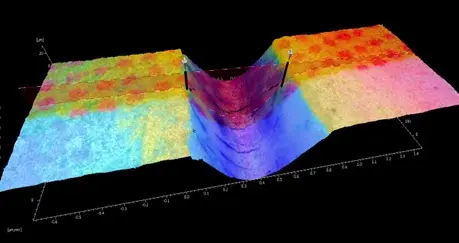
How CSI technology retrieves superior topography, form & roughness measurement data
Read how the optical technology of Coherence Scanning Interferometry (CSI) analyzes topography, form & roughness, where are sweet-spots, benefits and applications compared to related optical surface inspec…
Discuss your demands with our experts
Let’s start with a short discussion about your parts, tolerances, and workflow—and, if useful, we can add a feasibility study, PolyMeasure (contract measurements), or a PolyRent trial as optional next steps.


