Watchmakers rely on CSI Coherence Scanning Interferometry

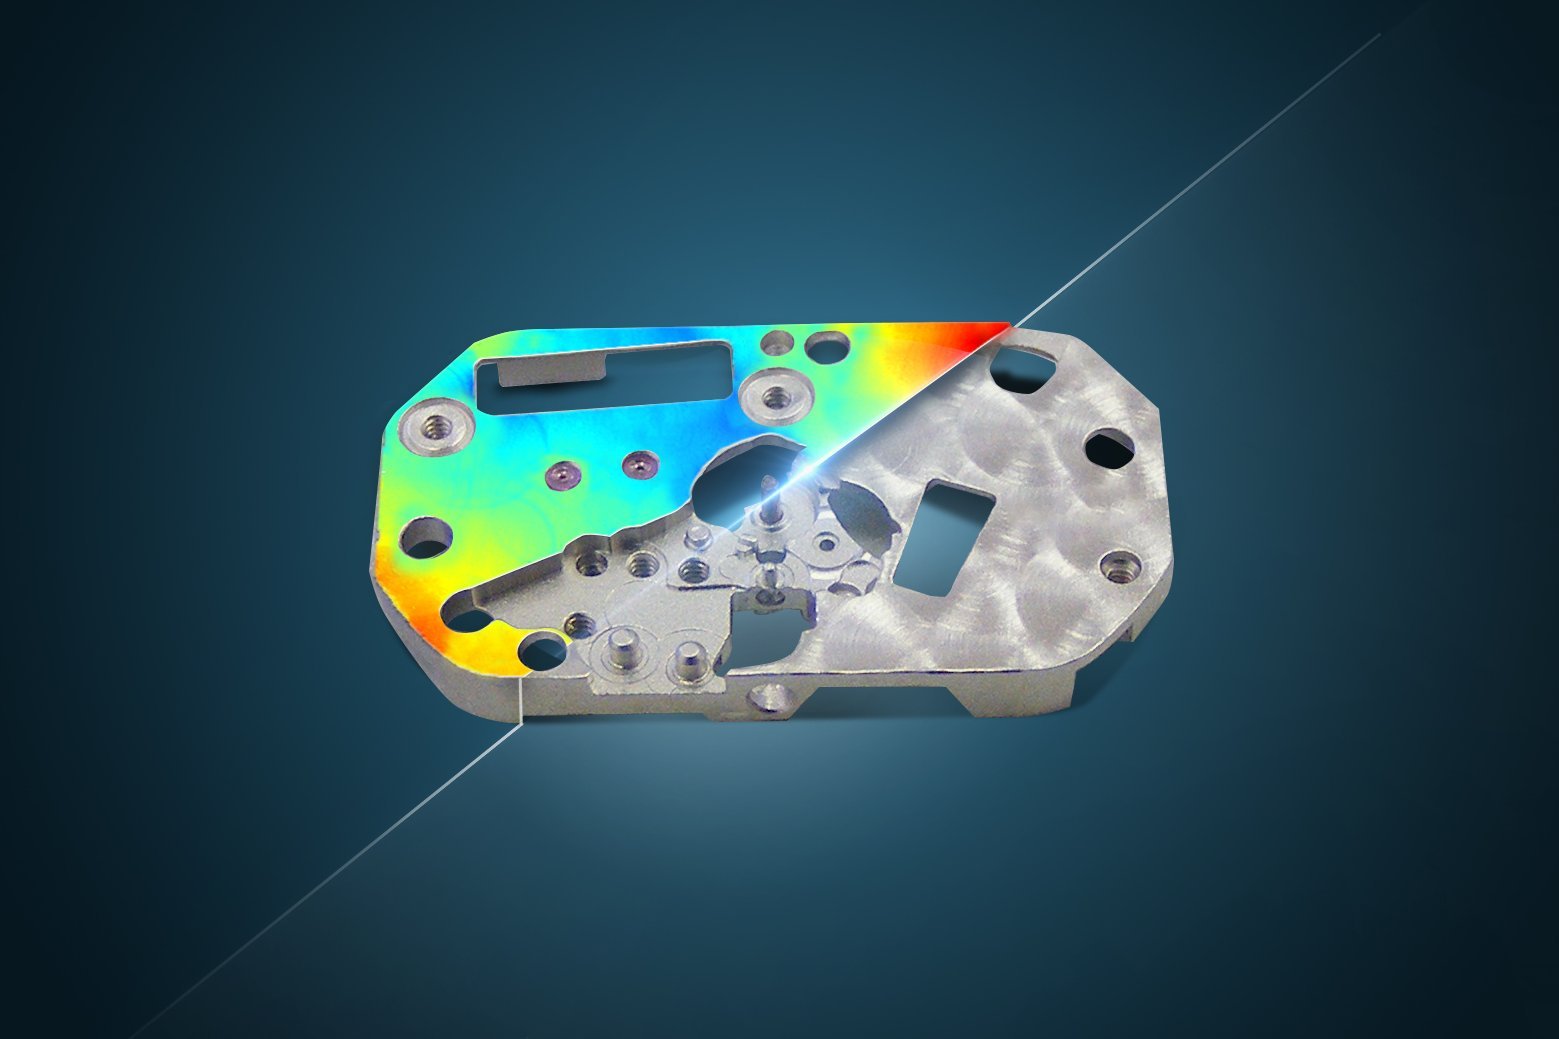
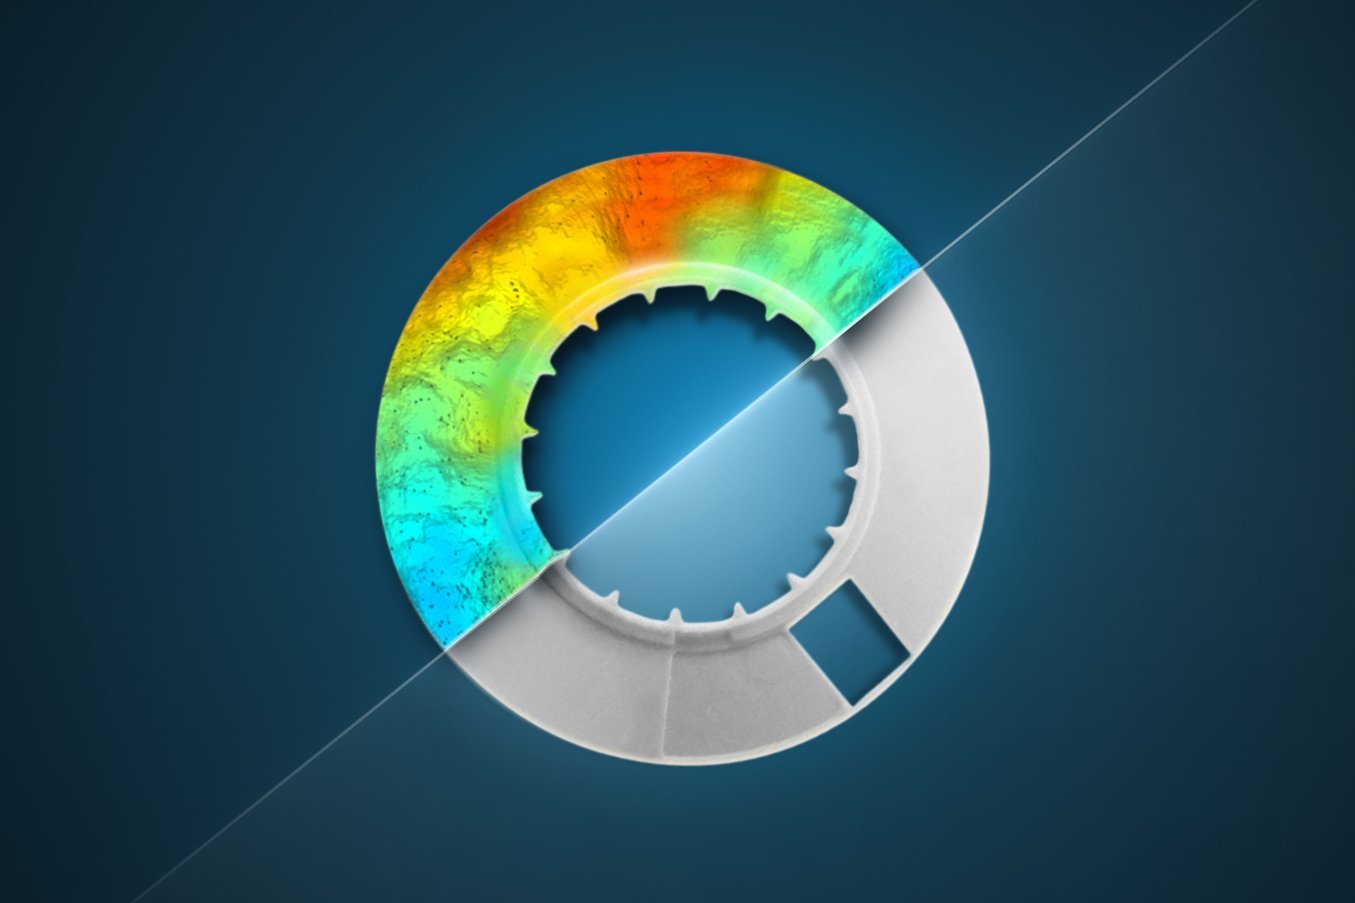
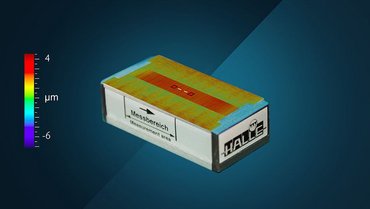
The surface quality of watch and clock parts depends on measurement precision and repeatability of CSI Coherence Scanning Interferometers (also known as white.light interferometers). Check geometrical tolerances on watch components, measuring form parameters like flatness, parallelism or step-height in watchmaking. 

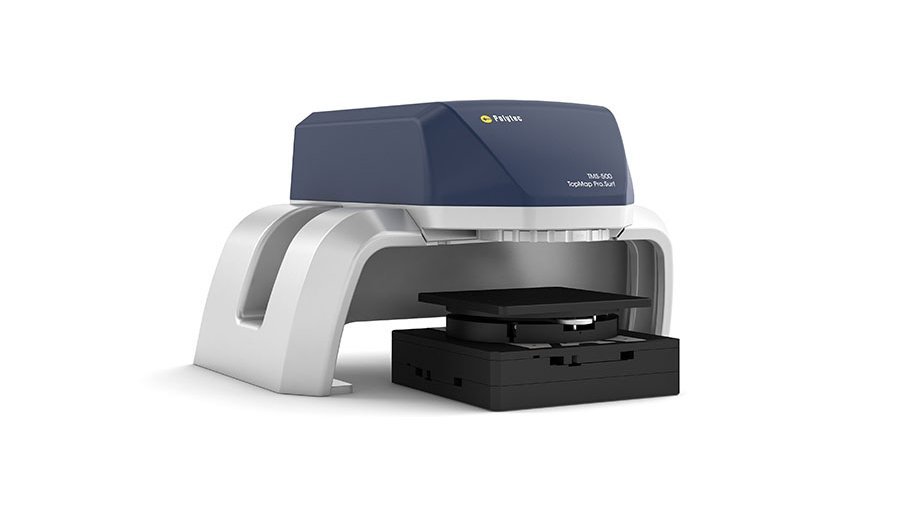
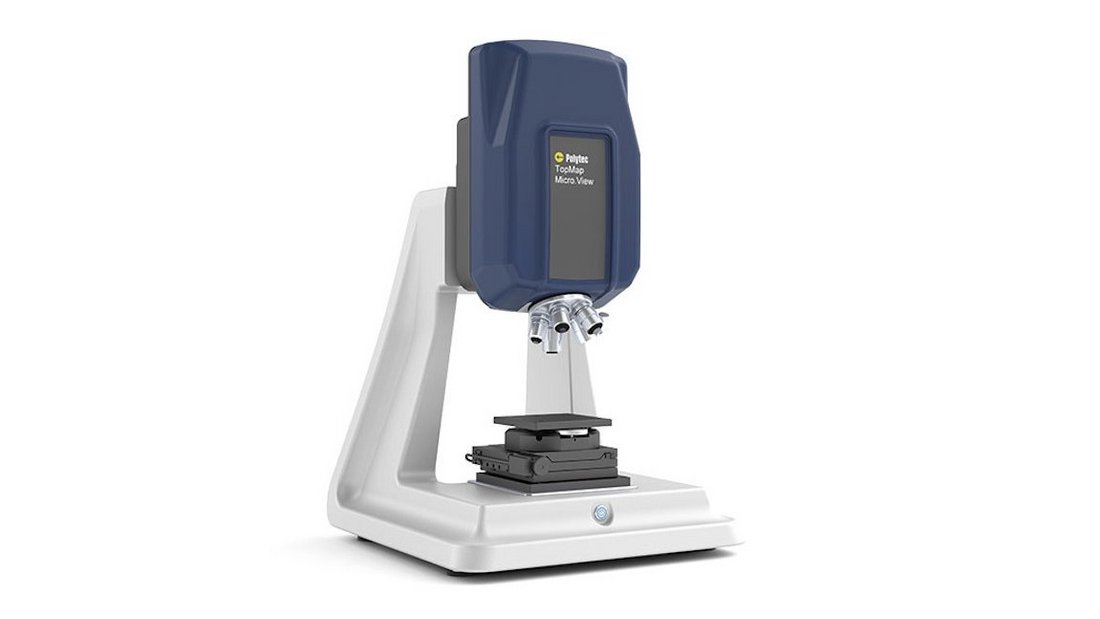
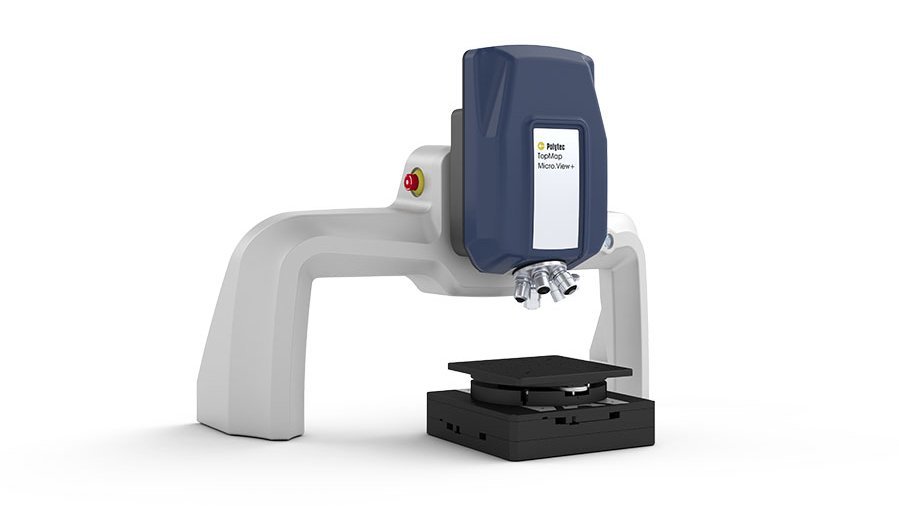
TopMap areal scanning white-light-interferometers deliver fast, complete and high resolution measurement data on micro parts. In contrast to other optical measurement technologies (fringe projection or focus variation), TopMap optical profilers measure reliably on both rough and optically smooth surfaces!
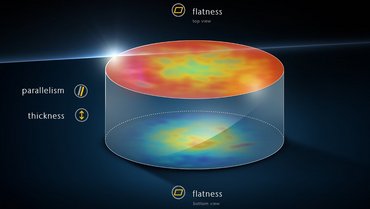
Flatness, thickness and parallelism of watch components

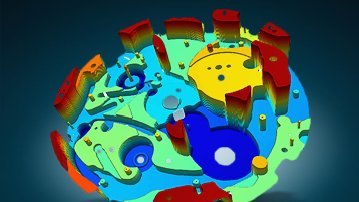
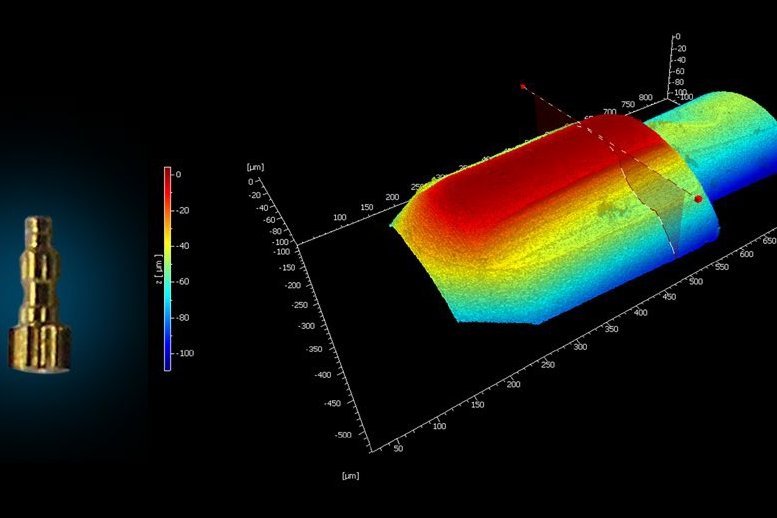
Let's take a closer look over a watchmaker’s shoulder to see, how white-light interferometers supports their precision engineered surfaces. Evaluate steps, flatness and parallelism on adjacent surfaces on watch parts and other precision engineered parts. A minute wheel drive from a watch shown as 3D topography profile. To verify the manufactured quality, the surface roughness on the inclined area, which is about 100 x 300 μm2 must be measured. Tactile measurement methods would cause problems due to the geometry of the measurement area. On the other hand, optical techniques such as white-light interferometry allow the topography to be captured within a matter of seconds.

For the innovative combined measurement approach of flatness, thickness and parallelism all together, read more about this dedicated precision mechanics inspection solution or contact us.

Contact your PolyXpert