Amplitude and frequency as key indicators for quality control
Optical measurement technology helps ensure the quality of acoustics and vibration characteristics both in development and on the production line. Laser vibration measurement technology measures amplitudes independently of frequency, quickly and reliably. Scanning vibrometry, in particular, allows area-based and non-contact amplitude measurement and is commonly used in research and product development for FE model validation, prototype testing or design optimization. However, it can also be used to derive suitable measurement points for a subsequent targeted 100% inspection in production in order to reliably detect rejects in production. Scanning vibrometry is also an efficient production measurement technique when multiple measurement points or the full-field amplitude distribution need to be checked.
Measuring vibration amplitudes on a large frequency bandwidth, also as a service?
Measuring vibration amplitudes in development and production
There are wanted and unwanted vibrations. These are characterized by their amplitude distribution over the frequency range and form a component-specific vibroacoustic signature: In modern control and operating panels, haptic feedback is based on a specific distribution of vibration amplitude and vibration frequency; in ultrasonic welding in production lines in the packaging industry, amplitude and frequency determine the quality of the joining and ultrasonic welding process; or in loudspeakers, amplitude and sound are closely linked because they all depend on the exact vibration amplitude and propagation on a sample surface. Manufacturers of consumer goods, infotainment hardware, medical technology or precision engineering components face the same challenge: they want to measure the vibration amplitudes in the product over the entire surface of the sample, scan the vibration frequency step by step, control the desired vibration amplitudes and, on the other hand, minimize the amplitudes of unwanted vibrations in the acoustic frequency range.
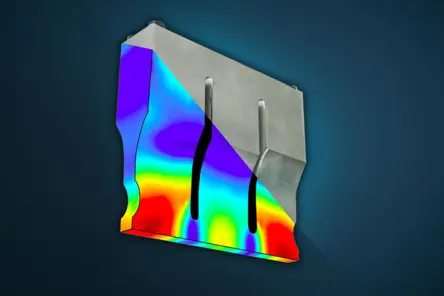
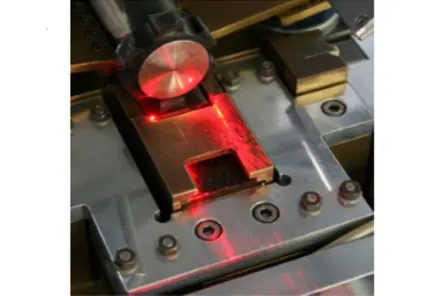
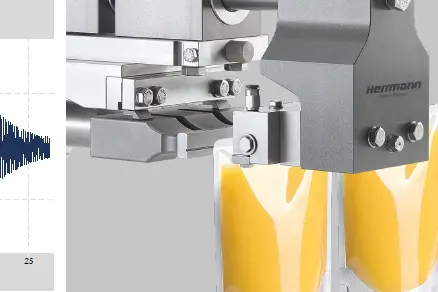
Optical metrology for measuring amplitude & frequency
Full-field, broadband scanning of vibration amplitudes using laser interferometry
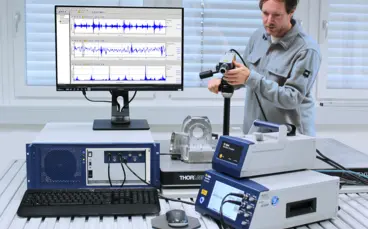
Optical and areally full-field measuring laser vibrometry as non-contact measuring technology has long been established in engineering departments. A laser sensor scans the entire surface of the product without contact nor influence on its dynamic behaviour, thus mapping the amplitude distribution on an entire frequency bandwidth with the highest precision. Desired and undesired vibrations are measured and visualized directly over the entire surface - with a single vibration sensor. A quality assurance system then classifies the product based on the reliable measurement data of the amplitude distribution. This is where Polytec's single-point laser vibration sensors and Scanning Laser Vibrometers contribute to quality control, offering flexibility, ease of use and short testing times.
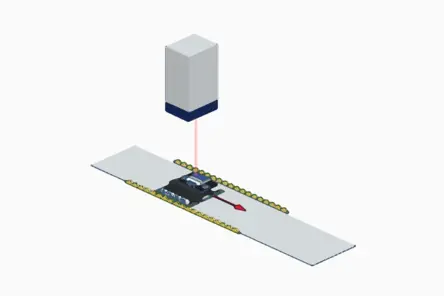
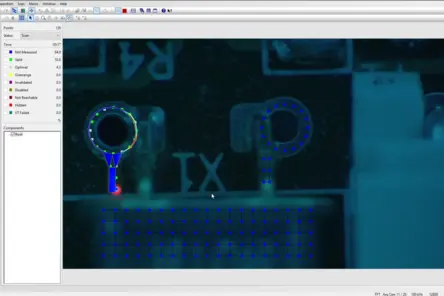
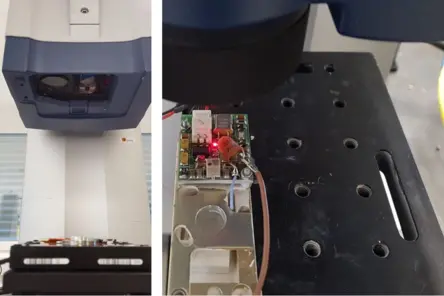
Amplitude correction in scanning vibrometry
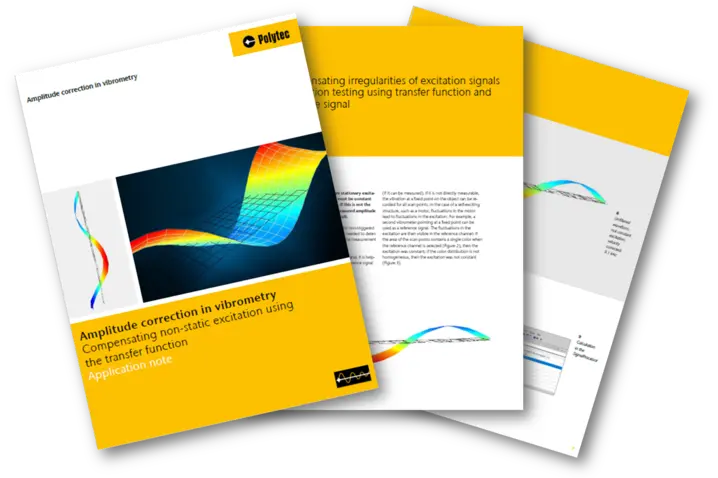
Operational deflection shape (ODS) measurements with PSV Polytec Scanning Vibrometers require a stationary excitation. If this is not the case, a direct observation of the measured amplitude will not provide a meaningful result. This application note provides a path to a corrected amplitude using the integrated tools of the PSV software. Login to read the full guide on how to compensate non-static excitation using the transfer function.
Measuring structure-borne noise and vibration amplitudes for quality control
Related products
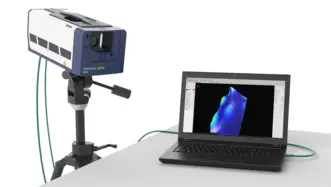
VibroScan QTec Xtra
VibroScan QTec Xtra measures vibrations in a new way - without contact, full-field and with unprecedented precision. With its groundbreaking multi-path interferometry, QTec® sets new standards in terms of optical sensitivity and interference immunity. The Xtra, based on an infrared (SWIR) laser is characterized by the highest optical sensitivity to guarantee highly accurate measurements even on demanding technical surfaces. VibroScan QTec Xtra ensures maximum portability through integrated data acquisition and signal generator up to 32 MHz.
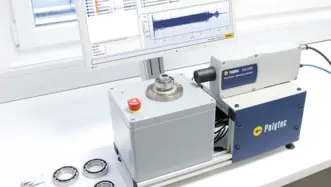
SonicTC QuickCheck
Multi-channel, PC-based testing software for fully or partially automatic process monitoring and quality control based on the vibration behaviour of manufactured products. SonicTC QuickCheck is a flexible tool for acoustics and vibration measurement in industrial quality control. The versatile fields of application reach from series production to in-process development.
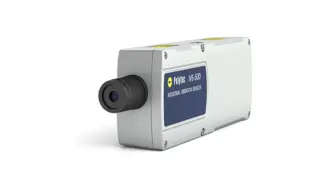
IVS-500 Industrial Vibration Sensor
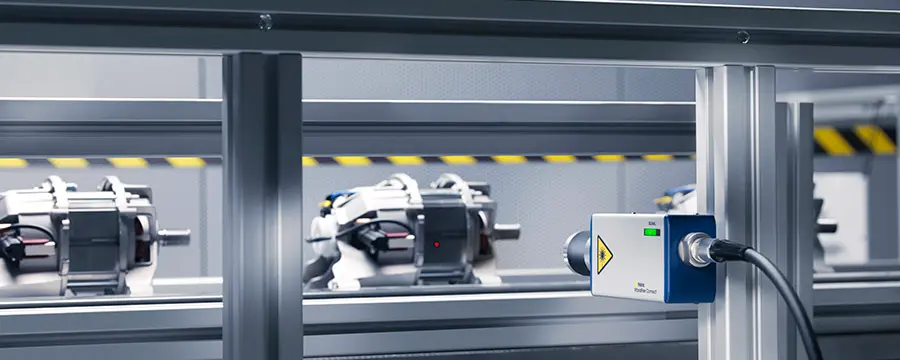
The IVS-500 Industrial Vibration Sensor is key to fast and non-contact vibro-acoustic quality inspection, structure-borne noise analysis and reliable pass-fail decisions. Its robust and compact design enables a smooth integration into process control systems for in-line and production testing up to 100 kHz, whenever requiring short cycle times like for end-of-line tests. The sensor is wear-free and avoids expensive servo-mechanisms or noise protection cabins.
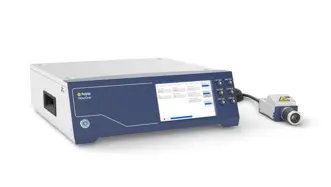
VibroOne
The laser Doppler vibrometer VibroOne® is the one-box solution for non-contact vibration measurement up to 3 MHz. It is specifically designed for tightly packed setups, whether in research laboratories, challenging production environments or for non-contact analysis of tiny details on microstructures or biomedical probes. The optional inline HD+ camera helps positioning the laser precisely and provides proper test documentation.

Talk to our experts
Our experts are ready to support your projects with tailored measurement solutions or support you in measuring what matters—get in touch with us today.
